
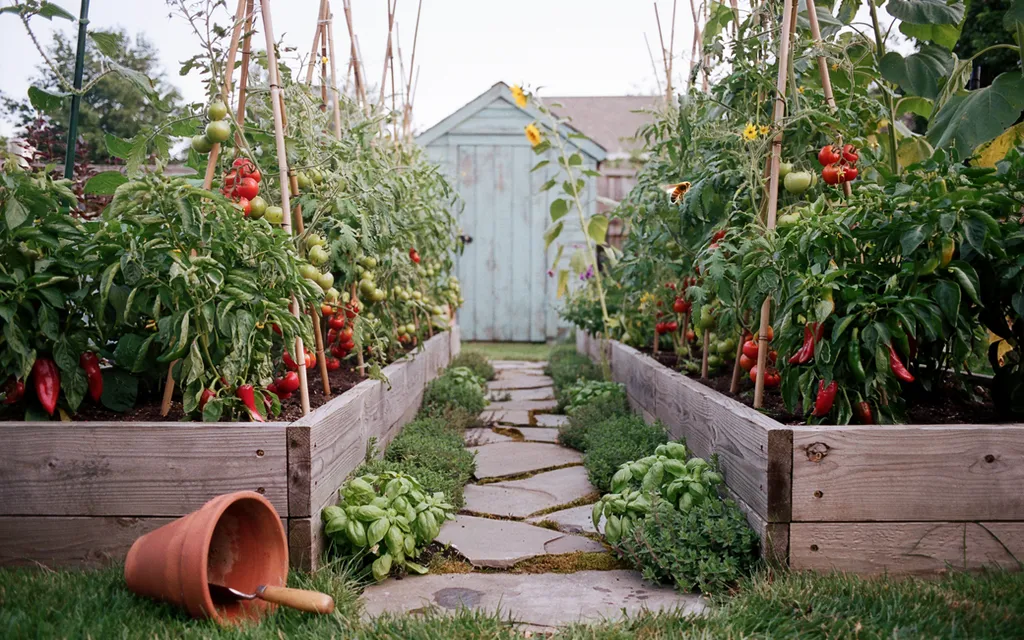
Introduction
Starting a vegetable garden can feel overwhelming when you’re not sure how to arrange your beds for the best results. The right raised garden bed layouts take the guesswork out of planning, helping you make the most of your space while keeping plants healthy, organized, and easy to maintain. From simple rectangular beds to space-saving grids and clever tiered designs for sloped yards, these 15 layouts offer beginner-friendly options for nearly any yard size, soil condition, or gardening goal you might have this growing season.
1. Single Rectangular Raised Bed
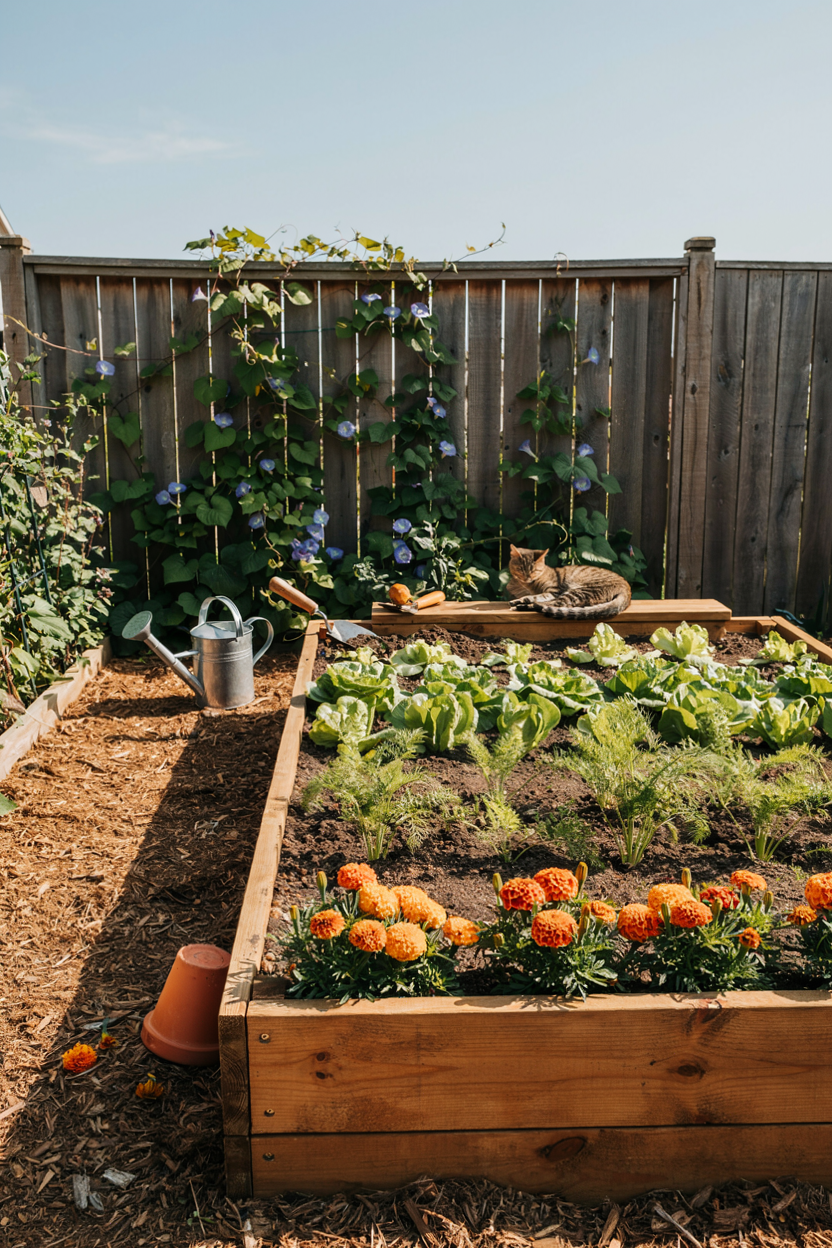
A single rectangular bed is one of the simplest raised garden bed layouts for anyone just starting out, offering an easy way to test the waters without a major investment of time or materials. Standard dimensions, typically around four feet wide and eight feet long, keep the entire bed within comfortable reach from either side, so there’s no need to step into the soil while planting or weeding. This layout also fits neatly into most yards, whether tucked against a fence or centered in an open patch of lawn.
Starting with one bed allows beginners to learn the basics of soil preparation, watering, and spacing before committing to a larger setup. Because the shape is straightforward, it’s also easy to plan out planting rows or grids without much math or measuring involved. Many first-time gardeners find that a single rectangular bed provides plenty of growing space for a season’s worth of vegetables while keeping the overall project manageable and low-stress.
2. Square Foot Gardening Grid
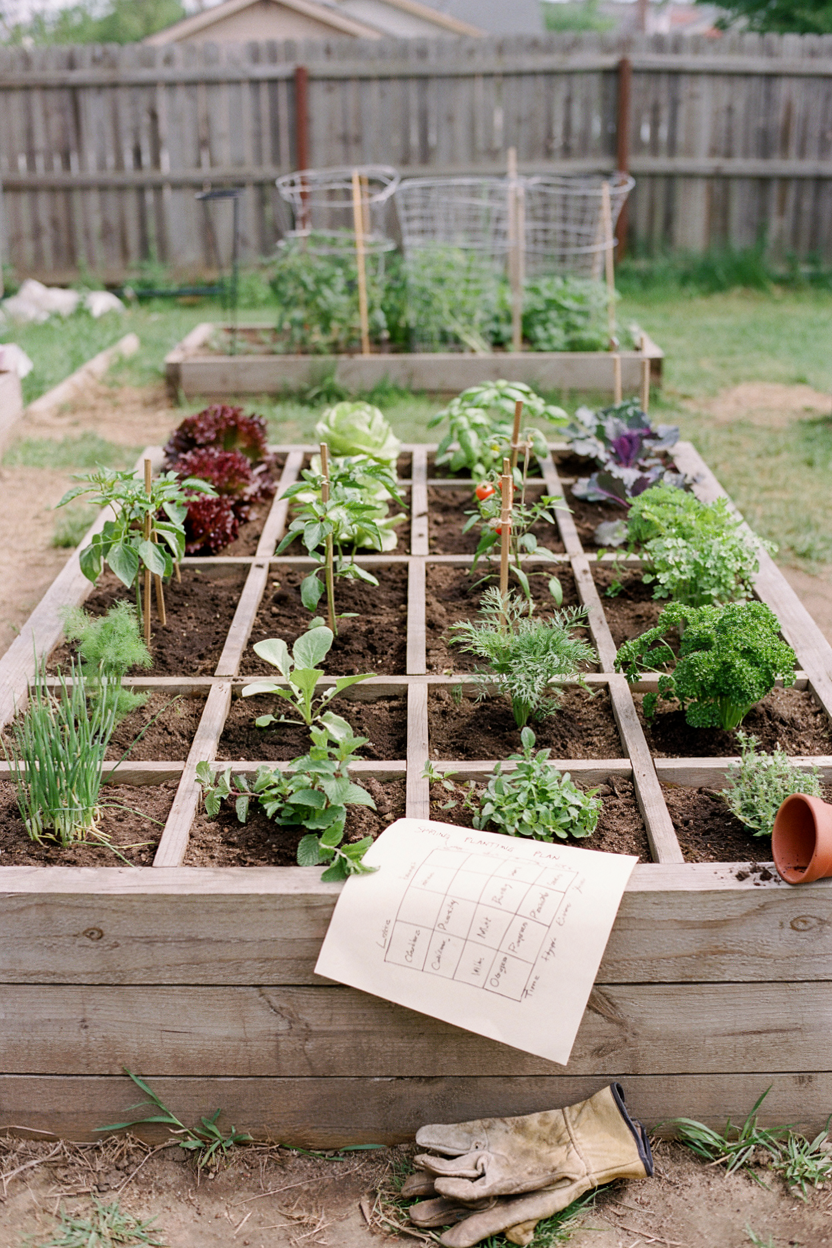
The square foot gardening method is one of the most beginner-friendly raised garden bed layouts, since it removes much of the guesswork around plant spacing. Dividing a four-by-four-foot bed into sixteen individual one-foot squares allows each section to be planted with a specific crop at its ideal density, whether that’s one tomato plant per square or sixteen carrots. This grid system makes it easy to visualize the entire garden at a glance and plan rotations season to season.
Because each square is treated as its own mini garden, this layout also simplifies succession planting, since finished squares can be replanted immediately without disturbing neighboring crops. Beginners often find this method reduces overcrowding, a common mistake in first-time vegetable gardens. Many new gardeners appreciate how the clear, gridded structure takes the uncertainty out of spacing, making it easier to achieve a productive, well-organized bed right from the start.
3. Parallel Row Raised Beds
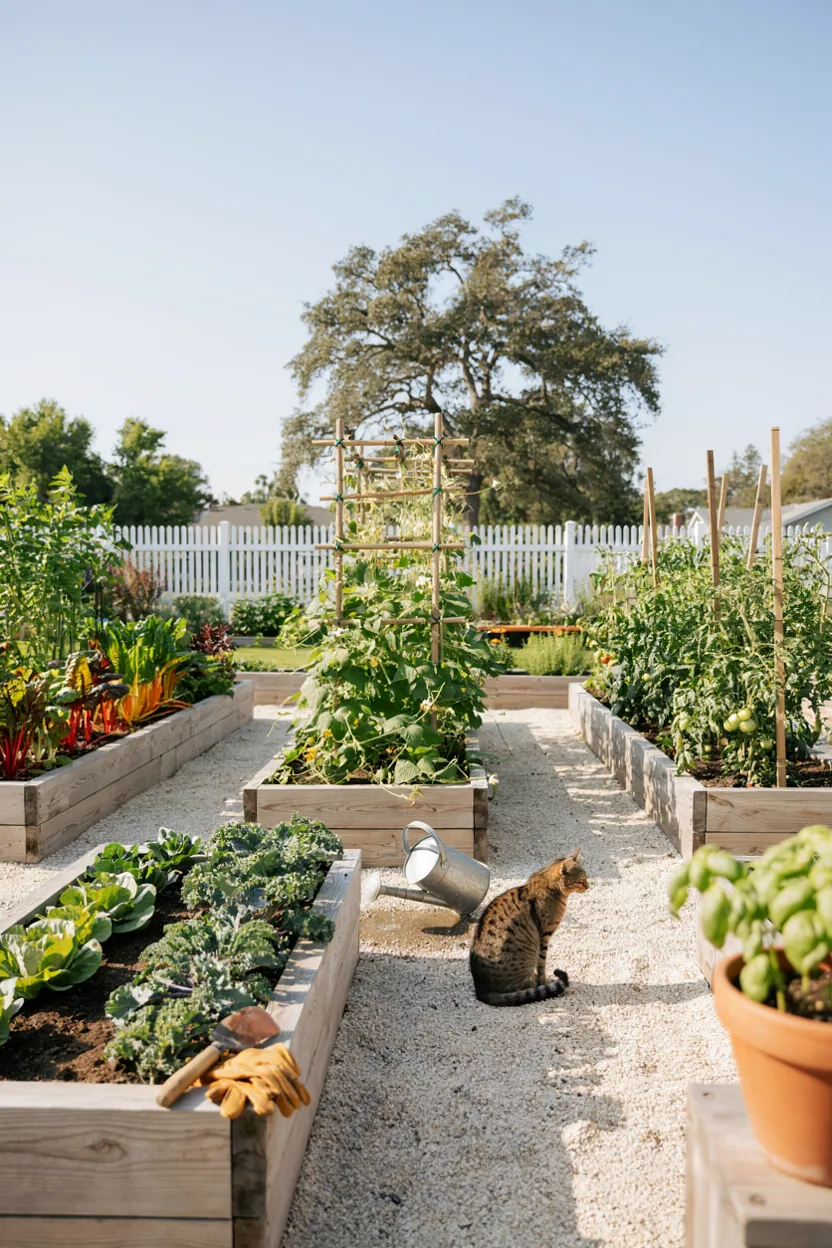
Arranging multiple beds in parallel rows is one of the most scalable raised garden bed layouts, ideal for beginners who want room to expand their garden over time. Building two or three identical beds side by side with consistent pathways between them creates a clean, organized look while making it easy to add more rows in future seasons. This layout also simplifies irrigation planning, since drip lines or soaker hoses can run consistently across each bed.
Keeping the pathways wide enough for a wheelbarrow, typically around eighteen to twenty-four inches, makes maintenance tasks like weeding and harvesting far more convenient. This approach works particularly well for gardeners who want to dedicate different beds to different crop types, such as separating leafy greens from root vegetables. Many beginners find that starting with just two parallel beds provides a manageable entry point that can easily grow alongside their gardening confidence.
4. L-Shaped Corner Bed Layout
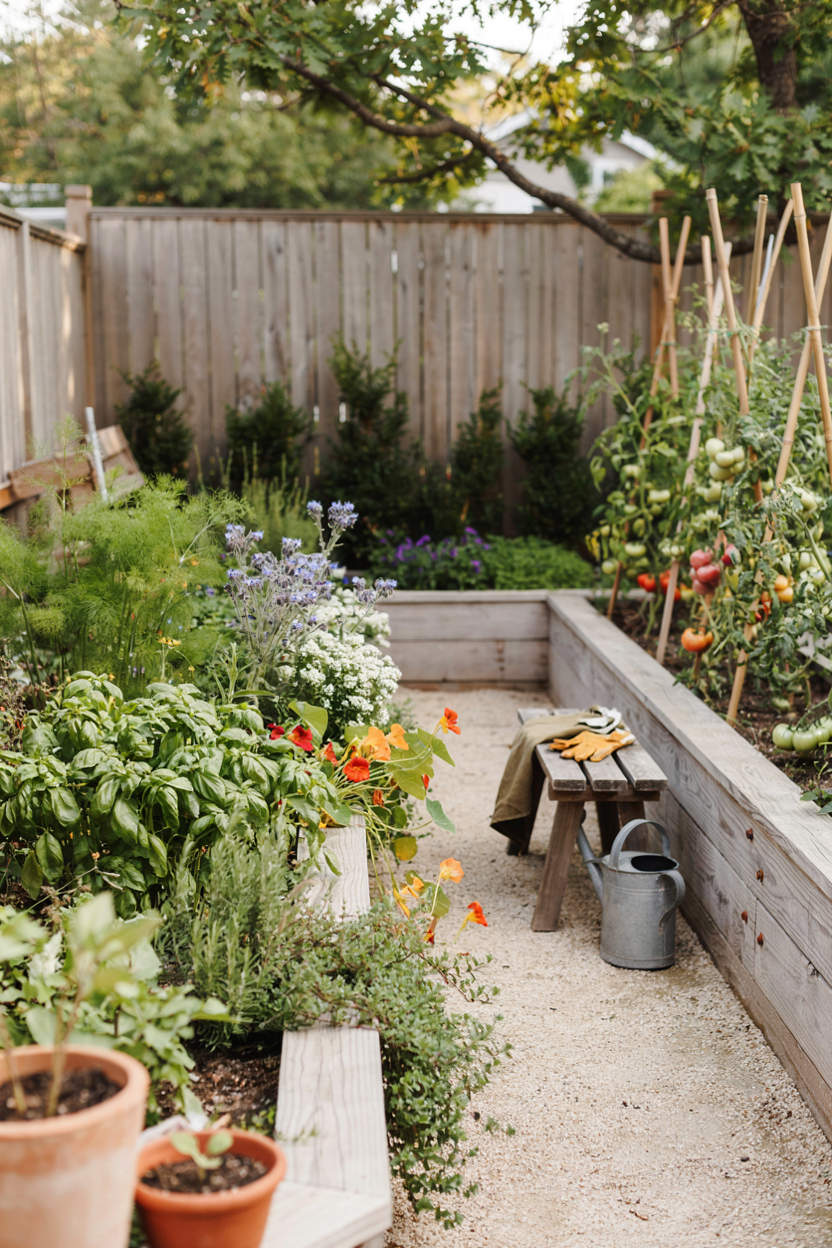
An L-shaped layout is one of the more space-efficient raised garden bed layouts, particularly useful for corner lots or yards with an awkward angled boundary. Positioning two beds to meet at a right angle makes use of a corner that might otherwise go unused, while still keeping both sections easily accessible from the open sides. This configuration also creates a natural sense of enclosure, which some gardeners find adds a cozy, defined feel to the growing space.
Because the two beds share a corner, this layout can also accommodate a small seating area or tool storage nook tucked into the inner angle. Beginners often find this shape helpful for visually separating different types of crops, such as using one arm of the L for vegetables and the other for herbs or flowers. Many gardeners appreciate how this layout makes efficient use of tricky yard shapes without sacrificing growing space.
5. U-Shaped Raised Bed Cluster
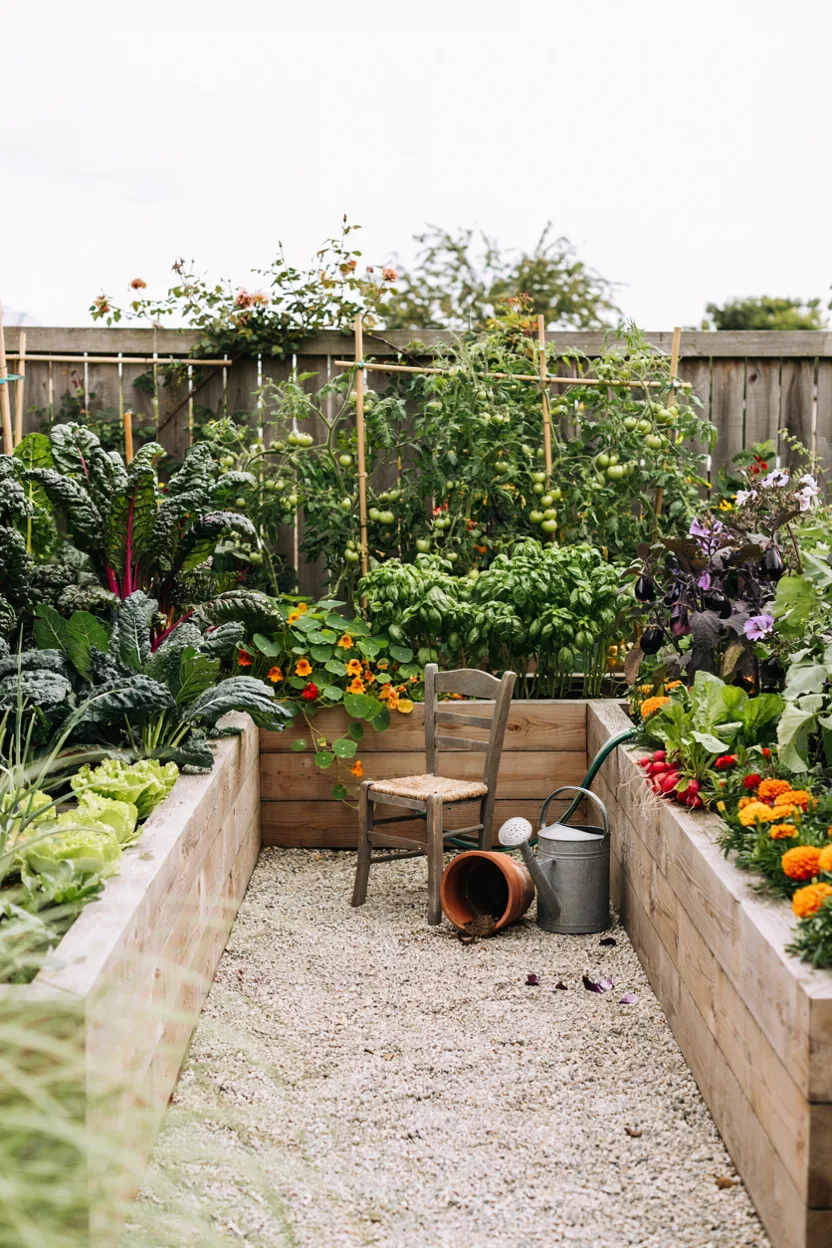
A U-shaped cluster is one of the more immersive raised garden bed layouts, surrounding a central seating or working area with beds on three sides. This configuration creates a garden that feels like its own dedicated outdoor room, with plants visible from nearly every angle of the central space. It works particularly well for gardeners who want to feel fully surrounded by their growing plants while tending or simply relaxing in the middle.
Because all three beds face inward toward the same central point, this layout also makes it easy to compare plant progress across different beds at a glance. Adding a small bench, stool, or even just a patch of gravel in the center gives gardeners a comfortable spot to pause between tasks. Many beginners find that a U-shaped layout adds a sense of intimacy and structure that a simple row of beds doesn’t quite achieve.
6. Keyhole Garden Bed Layout
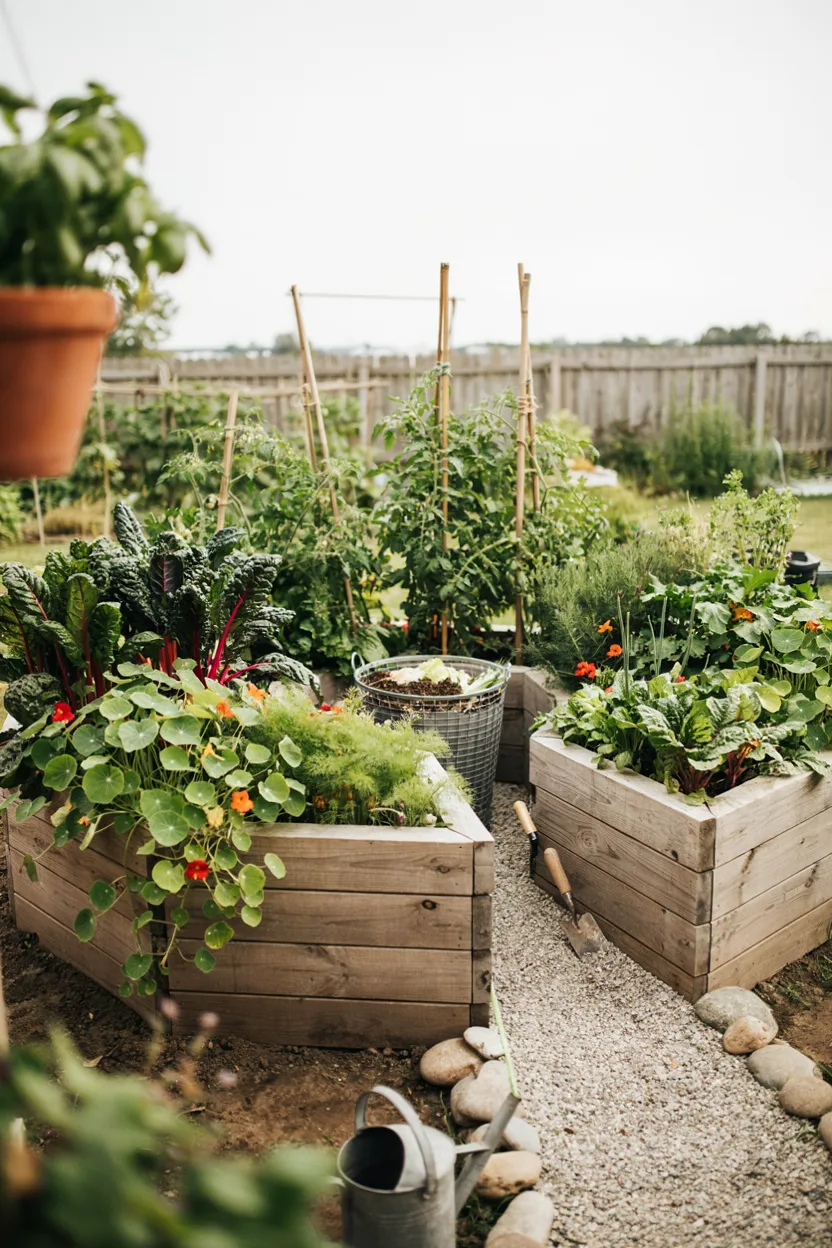
The keyhole design is one of the more unique raised garden bed layouts, combining composting and planting into a single efficient structure. A circular bed with a wedge cut out allows the gardener to walk into the center, where a compost basket sits and slowly releases nutrients directly into the surrounding soil as materials break down. This layout minimizes wasted space compared to a standard row garden, since every part of the circle remains within arm’s reach.
This design originated as a way to grow food efficiently in areas with poor soil or limited water access, making it particularly appealing for beginners focused on sustainability. Because the compost sits at the center, nutrients naturally spread outward, reducing the need for additional fertilizing over time. Many gardeners find that a keyhole layout offers an efficient, low-maintenance way to combine composting and growing within a single compact footprint.
7. Tiered Raised Bed on a Slope
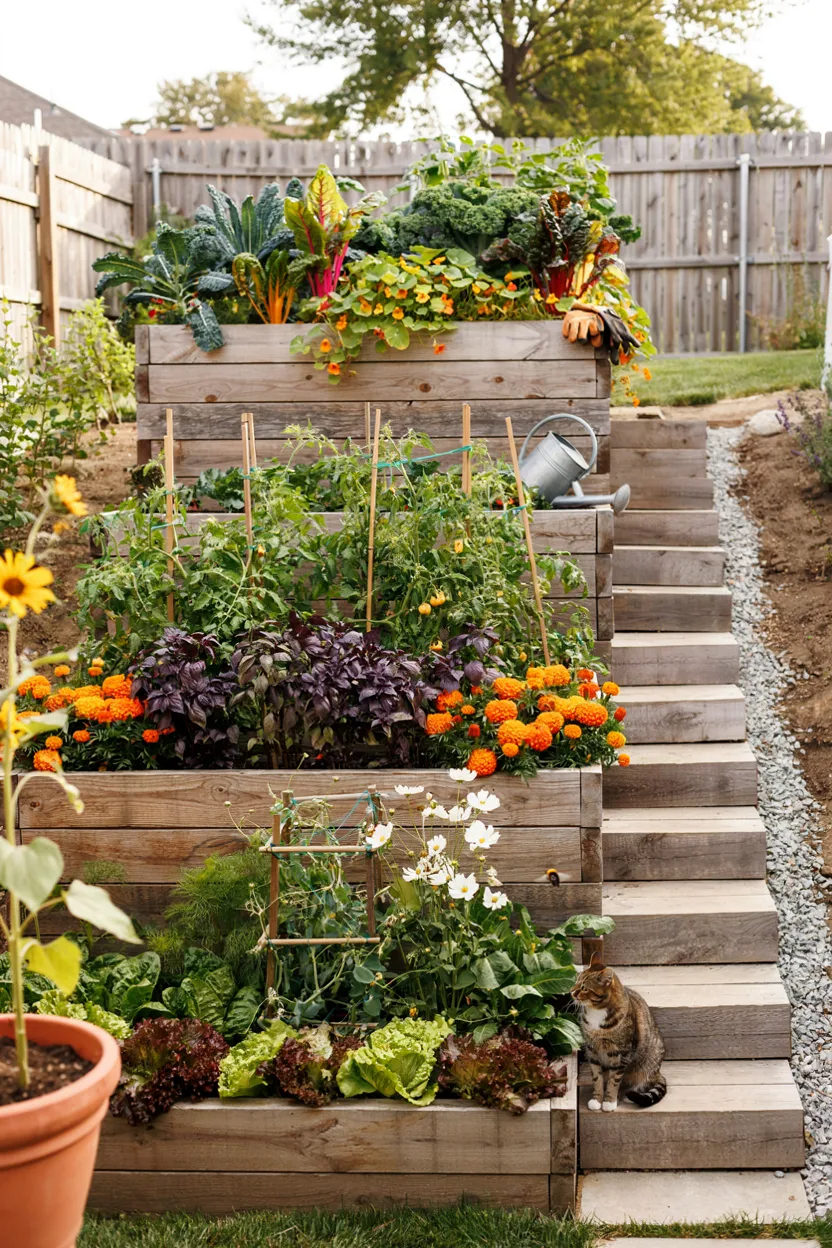
Tiered beds are among the most practical raised garden bed layouts for yards with a natural slope, since they eliminate the need for extensive grading or leveling before planting. Building each bed at a slightly different elevation allows the structure to follow the land’s natural contour, with short retaining walls holding the soil in place at each level. This approach often costs less than fully flattening a sloped area before installing a garden.
Beyond solving a practical challenge, tiered beds also create visual interest, with plants cascading down the different levels in a way that flat, single-level gardens can’t replicate. Connecting the tiers with a simple set of steps makes moving between beds easy and safe. Many beginners find that a tiered layout turns a previously unusable sloped yard into one of the most productive and visually striking parts of their entire garden.
8. Circular Raised Bed Design
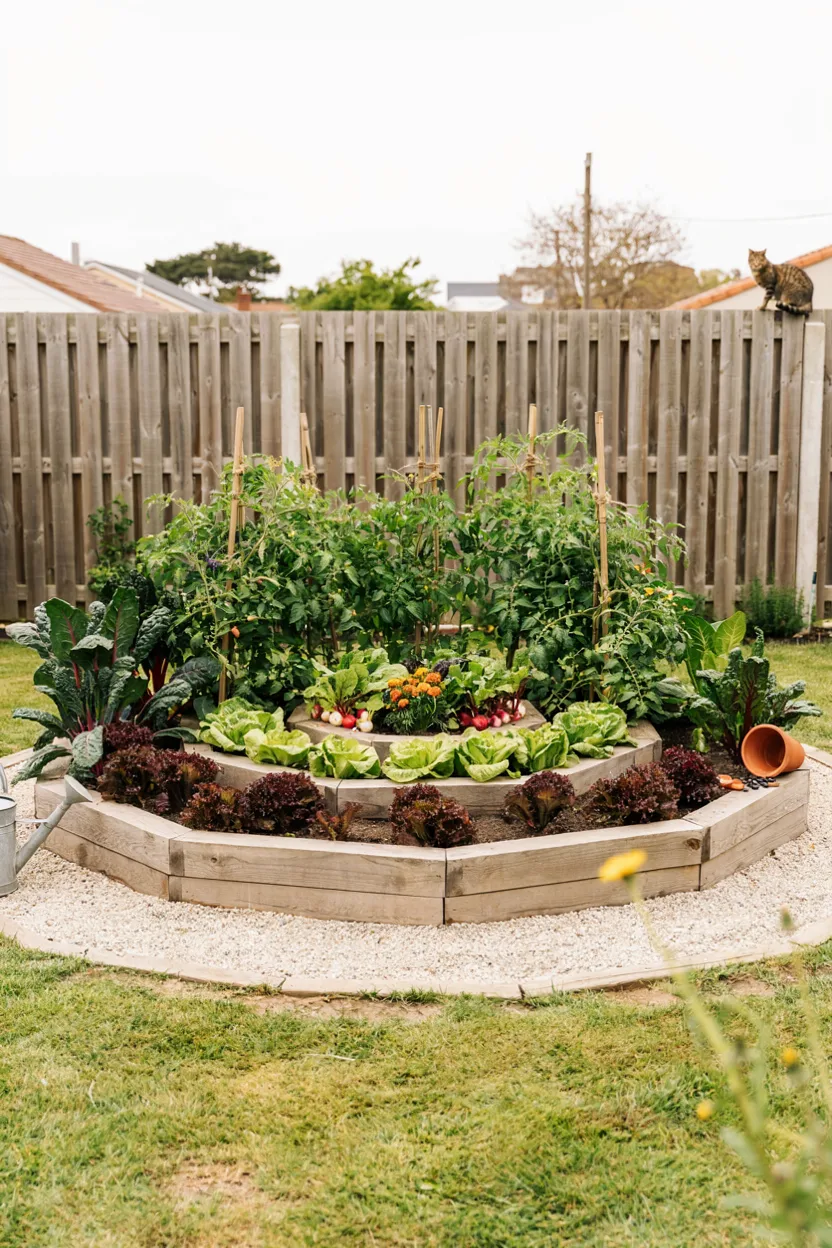
A circular bed is one of the more visually distinctive raised garden bed layouts, offering a softer alternative to the typical rectangular shape. Because the entire bed can be accessed from all sides, this design allows for slightly wider beds than a standard rectangle would permit while still keeping every plant within comfortable reach. Planting in concentric rings, with taller crops toward the center and shorter ones along the outer edge, creates an organized, layered look.
This shape works particularly well as a freestanding focal point in the middle of a yard, rather than tucked against a fence or wall. Beginners often find that a circular layout feels less rigid and more forgiving than a strict grid system, allowing for more organic, intuitive planting decisions. Many gardeners appreciate how this design adds a decorative element to the garden while still functioning as a fully productive growing space.
9. Herb Spiral Raised Bed
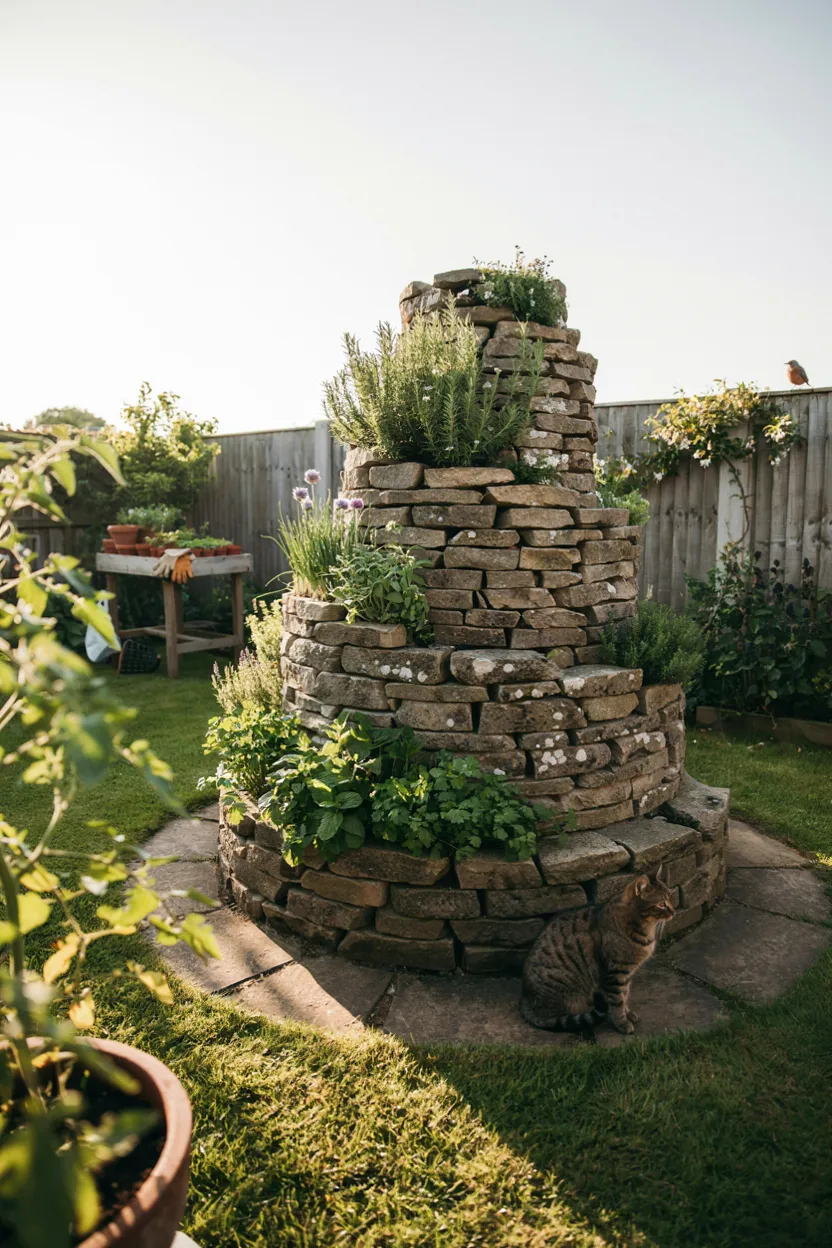
An herb spiral is one of the more specialized raised garden bed layouts, designed specifically to create varying growing conditions within a single compact structure. As the spiral rises, it naturally creates drier, sunnier conditions near the top and cooler, moister conditions near the base, allowing gardeners to match each herb to its ideal microclimate without needing separate beds. This makes it possible to grow a wide variety of herbs, from drought-tolerant rosemary to moisture-loving mint, all within one small footprint.
Building the spiral from stacked stone or brick adds thermal mass, which helps regulate temperature and further supports the range of microclimates within the structure. This layout works especially well near a kitchen door, where fresh herbs are needed regularly for cooking. Many beginners find that an herb spiral offers a rewarding, space-efficient way to grow a diverse herb collection without dedicating multiple separate beds to the effort.
10. Three-Bed Crop Rotation Layout
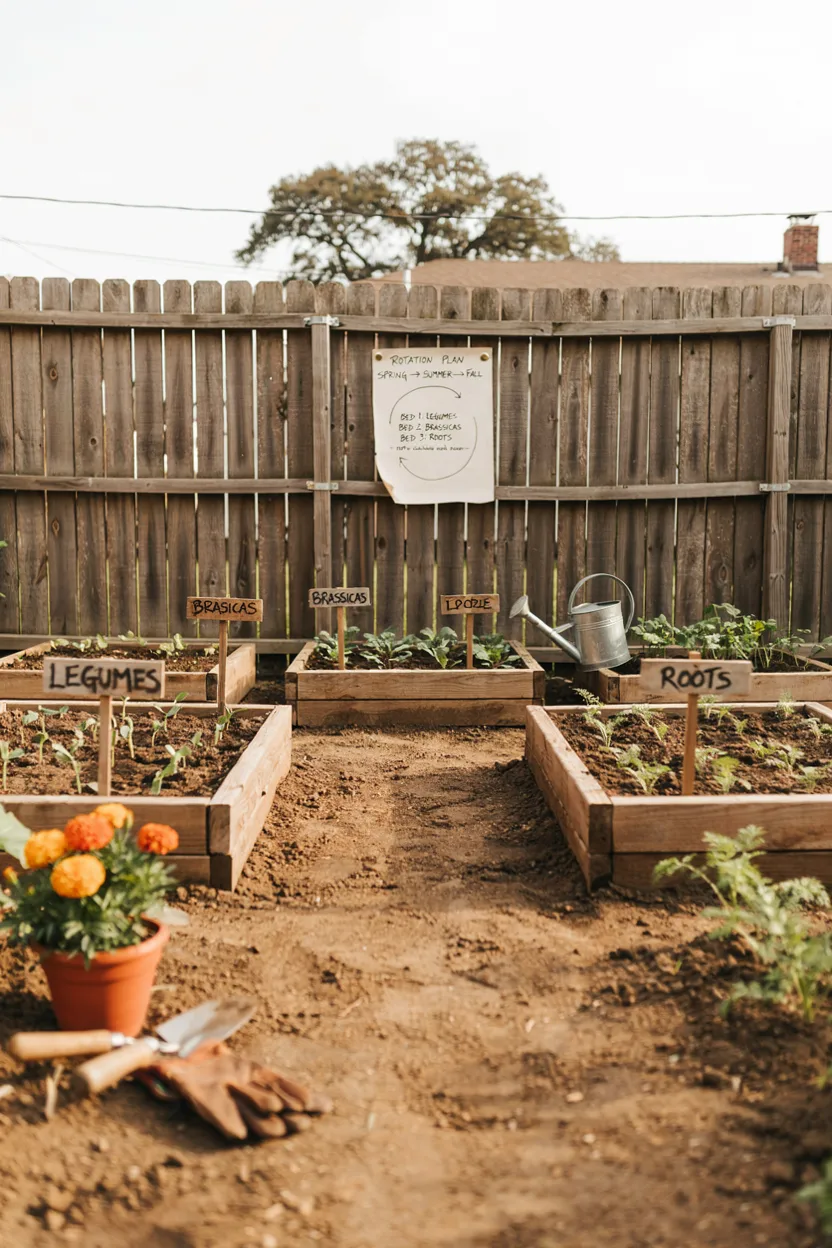
Designing a garden specifically around crop rotation is one of the more strategic raised garden bed layouts, helping beginners maintain healthy soil over multiple growing seasons. Dividing the garden into three distinct beds allows different plant families, like legumes, brassicas, and root vegetables, to rotate through each bed on a yearly cycle. This practice helps prevent the buildup of pests and diseases that can occur when the same crops are grown in the same soil year after year.
Labeling each bed and keeping a simple rotation chart nearby makes it easy to remember which crops belong where each season, even for beginners still learning the system. This layout also naturally encourages garden diversity, since gardeners are prompted to grow a wider variety of crops to fill each rotation slot. Many first-time vegetable gardeners find that starting with a rotation-focused layout sets them up for healthier, more productive beds over the long term.
11. Raised Bed with Center Walkway
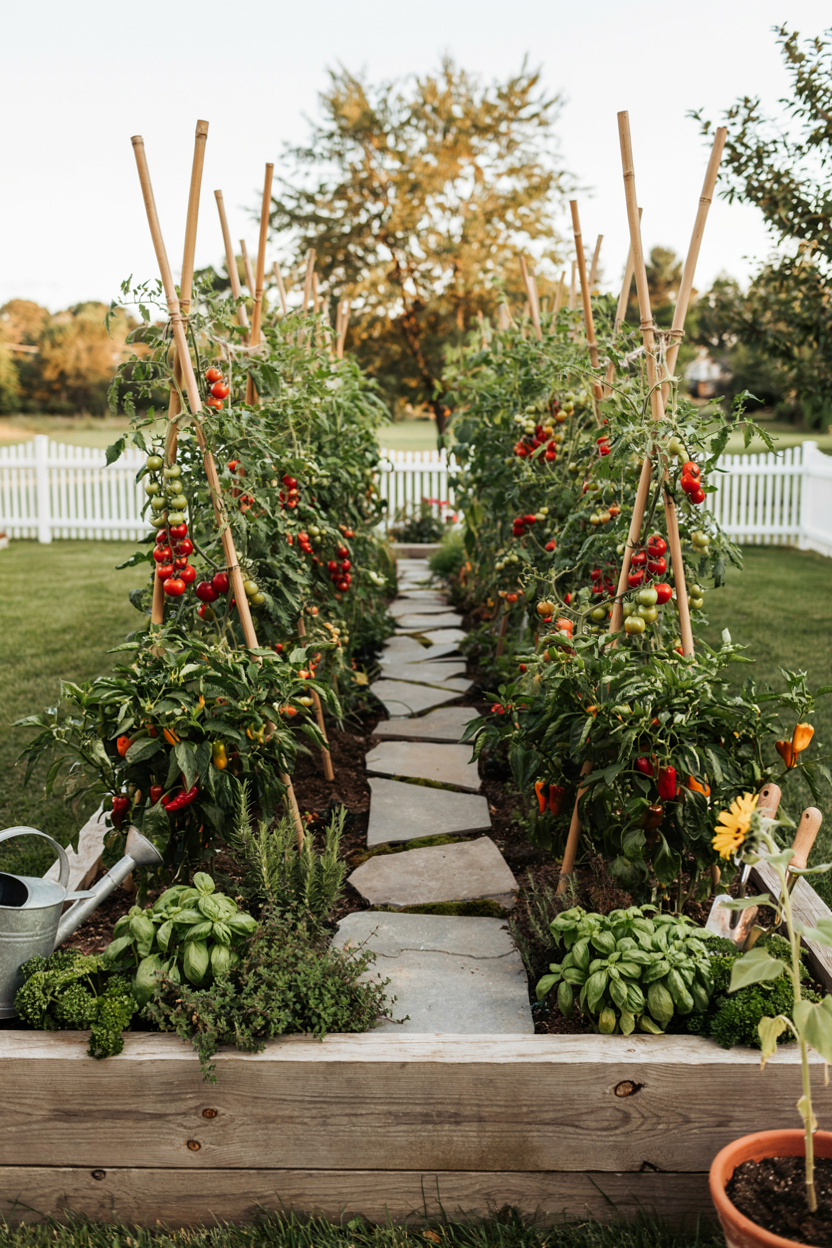
Adding a center walkway is one of the more accessible raised garden bed layouts for wider beds that would otherwise be difficult to reach into from the outside edges alone. Building a bed wider than the standard four feet allows for more total growing space, but incorporating a narrow stepping stone path through the middle ensures every plant remains within comfortable reach without needing to step directly on the soil.
This layout works particularly well for gardeners who want to maximize square footage without sacrificing convenience, since the central path effectively creates two accessible zones within a single larger bed. Positioning taller plants along the outer edges and shorter ones near the path helps maintain visibility and airflow throughout the bed. Many beginners find that this hybrid approach offers the best of both worlds, combining generous growing space with practical, everyday accessibility.
12. Vertical-Friendly Raised Bed with Trellis End
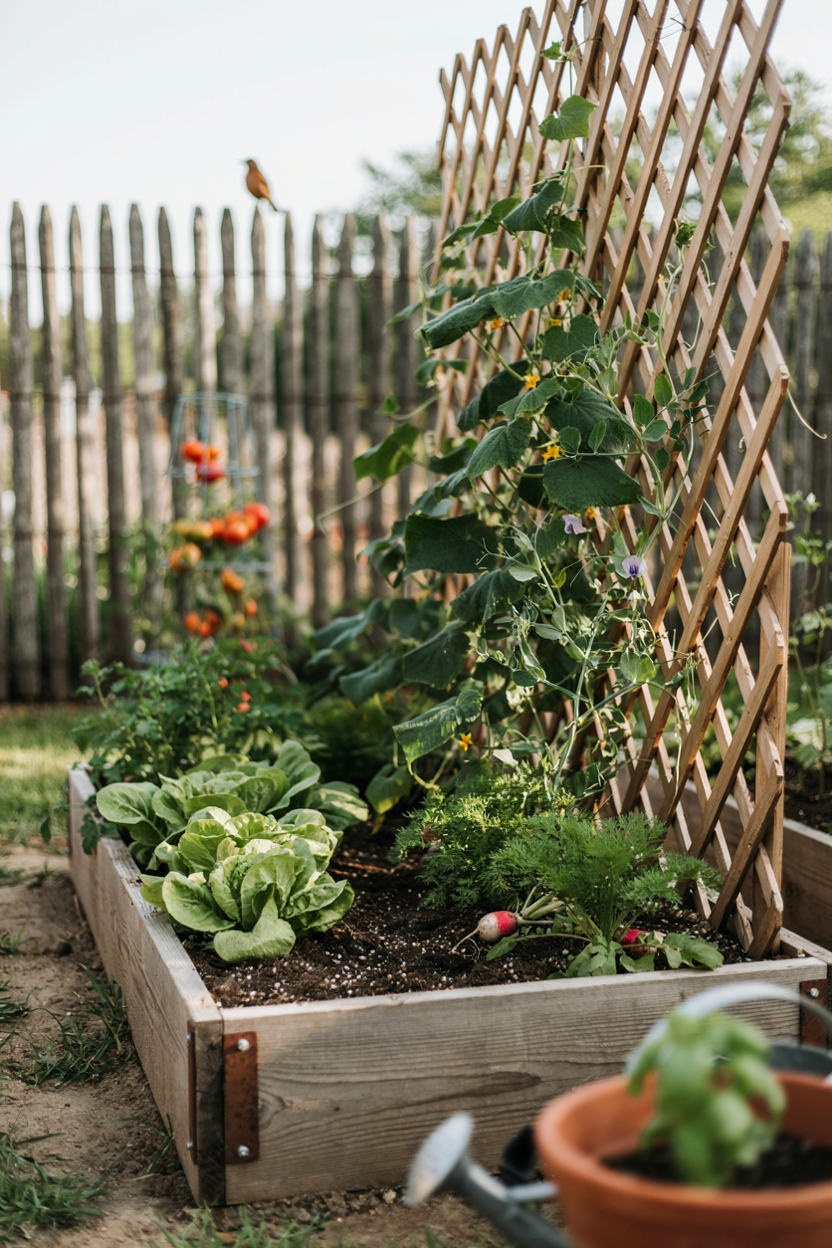
Incorporating a trellis into one end of the bed is one of the most productive raised garden bed layouts for beginners wanting to grow climbing crops without sacrificing valuable ground space. Positioning the trellis at the north end of the bed, so it doesn’t shade shorter plants, allows vining crops like peas, cucumbers, or pole beans to grow vertically while the rest of the bed remains free for lower-growing vegetables.
This layout effectively doubles the productive capacity of a single bed, since vertical growth doesn’t compete with the horizontal space needed for root vegetables or leafy greens. Beginners often find that trellised plants are also easier to harvest, since fruit hangs at eye level rather than sprawling across the ground. Many gardeners appreciate how this combination layout introduces vertical gardening techniques within an already familiar and manageable raised bed structure.
13. Raised Bed Grid for Small Yards
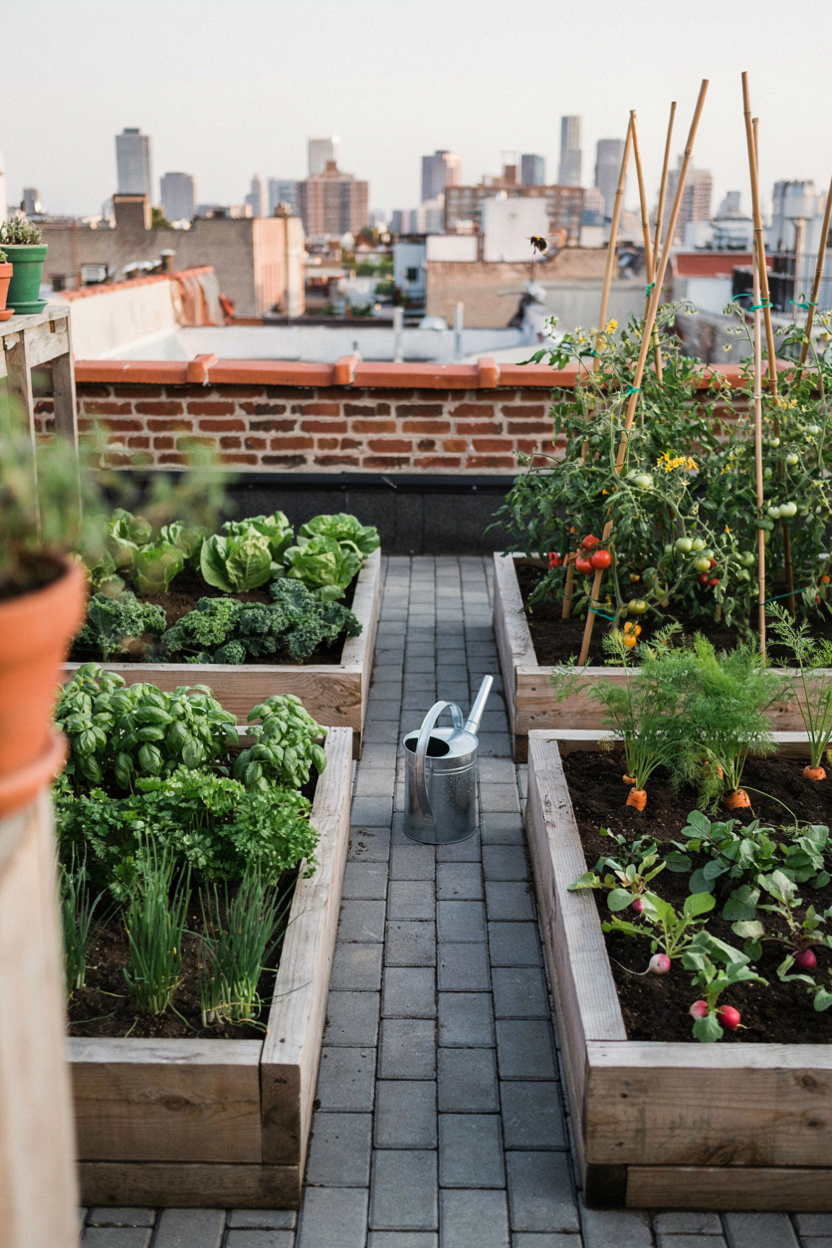
For beginners working with very limited space, a compact grid of small beds is one of the most practical raised garden bed layouts available. Arranging several small beds, often just two feet by two feet each, in a tight grid pattern allows for meaningful growing space even on a small patio or narrow side yard. This approach also makes it easy to add or remove individual beds over time as space or interest changes.
Because each bed is small and independent, this layout is particularly forgiving for beginners still learning what grows well in their specific conditions, since mistakes in one bed don’t affect the others. Keeping pathways between the beds narrow but functional, typically around twelve to eighteen inches, maximizes growing space without making movement between beds difficult. Many first-time gardeners find this grid approach ideal for testing different crops before committing to a larger single bed.
14. Elevated Raised Bed for Accessibility
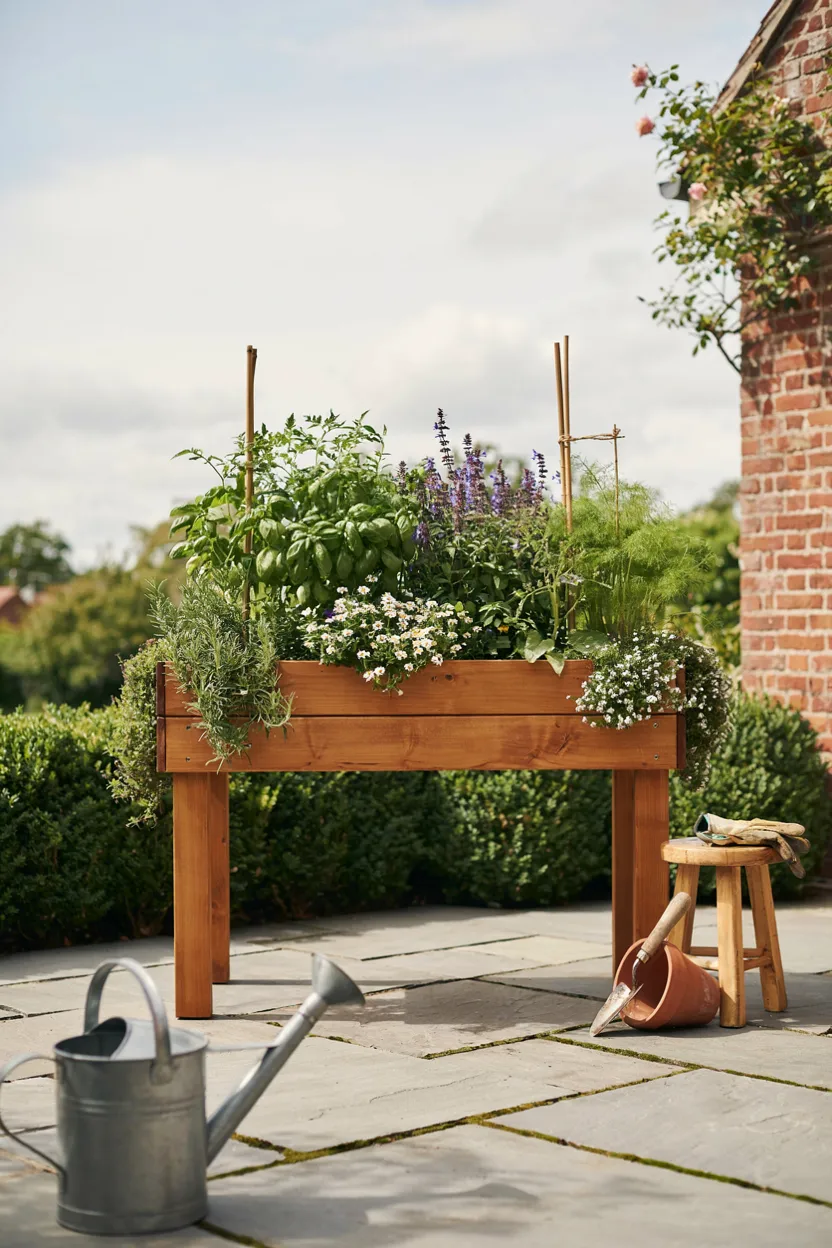
Elevated beds built on legs are among the most accessible raised garden bed layouts, designed specifically to reduce bending and kneeling during regular garden maintenance. Raising the growing surface to waist height makes tasks like planting, weeding, and harvesting significantly more comfortable, particularly for gardeners with mobility limitations or those who simply prefer to avoid the strain of ground-level gardening. This layout also naturally deters some pests, since the bed sits well above typical rabbit or ground-level insect activity.
Because elevated beds hold less soil volume than traditional in-ground raised beds, they tend to dry out faster and may require slightly more frequent watering. Choosing a bed with a solid bottom and adequate drainage holes helps manage this challenge effectively. Many beginners, especially those gardening on a patio, balcony, or accessible garden space, find that elevated beds make the entire gardening process far more comfortable and sustainable long-term.
15. Mixed-Height Raised Bed Layout
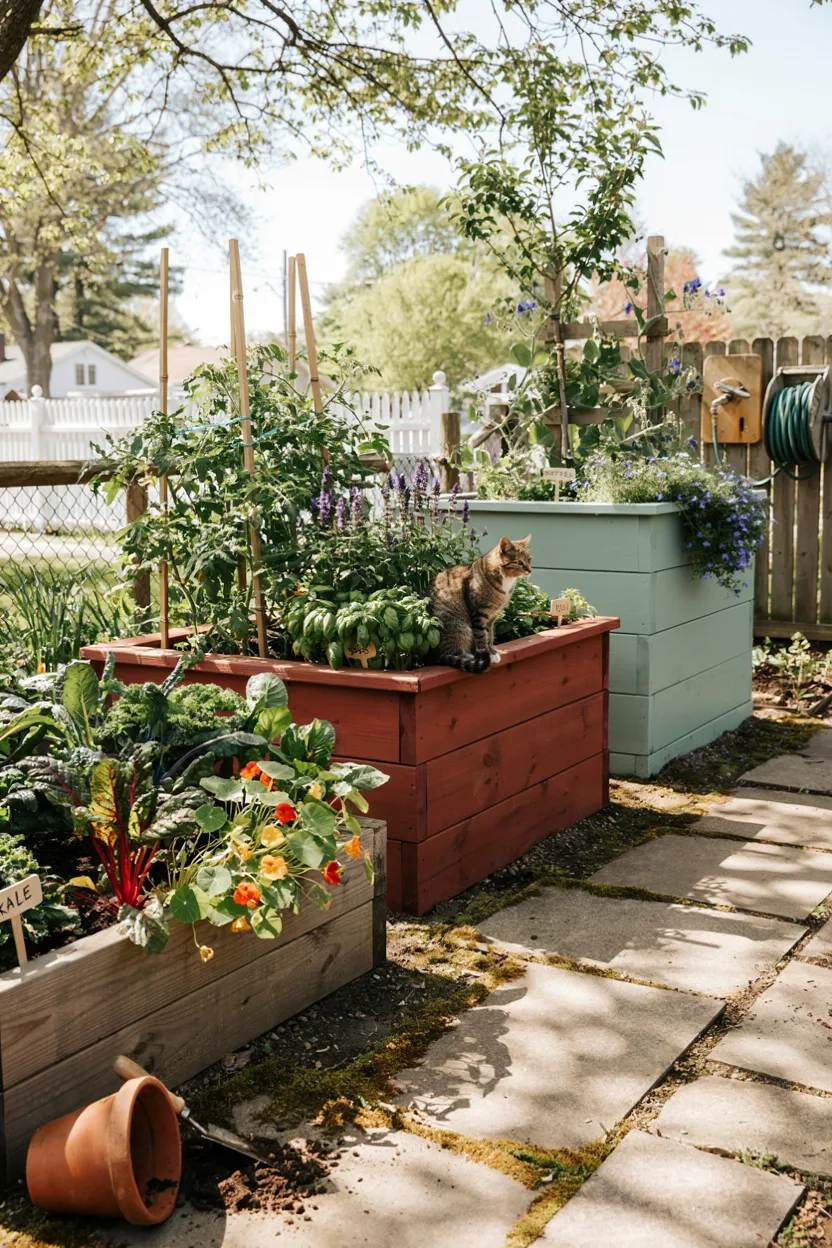
Rounding out this list of raised garden bed layouts, combining beds of different heights within a single garden area adds both visual interest and practical variety. Pairing a standard ground-level bed with a taller elevated planter allows gardeners to grow a wider range of crops suited to different depths and accessibility needs, all within the same general space. This layout also creates a naturally tiered, dynamic look that flat, single-height gardens often lack.
This approach works particularly well for households with multiple gardeners, where one person might prefer the accessibility of an elevated bed while another enjoys traditional ground-level planting. Mixing heights also allows for creative plant placement, with trailing varieties cascading from taller beds while sturdier crops anchor the lower sections. Many beginners find that a mixed-height layout keeps the garden feeling fresh and personalized, rather than following a single rigid format throughout the space.
Conclusion
Choosing the right layout is one of the most important steps in setting up a raised garden bed that actually thrives. Whether you go with a simple single rectangle or a more advanced tiered design, the key is picking a layout that matches your space, experience level, and gardening goals. Start small, learn as you grow, and don’t be afraid to expand your raised garden bed layout in future seasons.

Join The Discussion