
Introduction
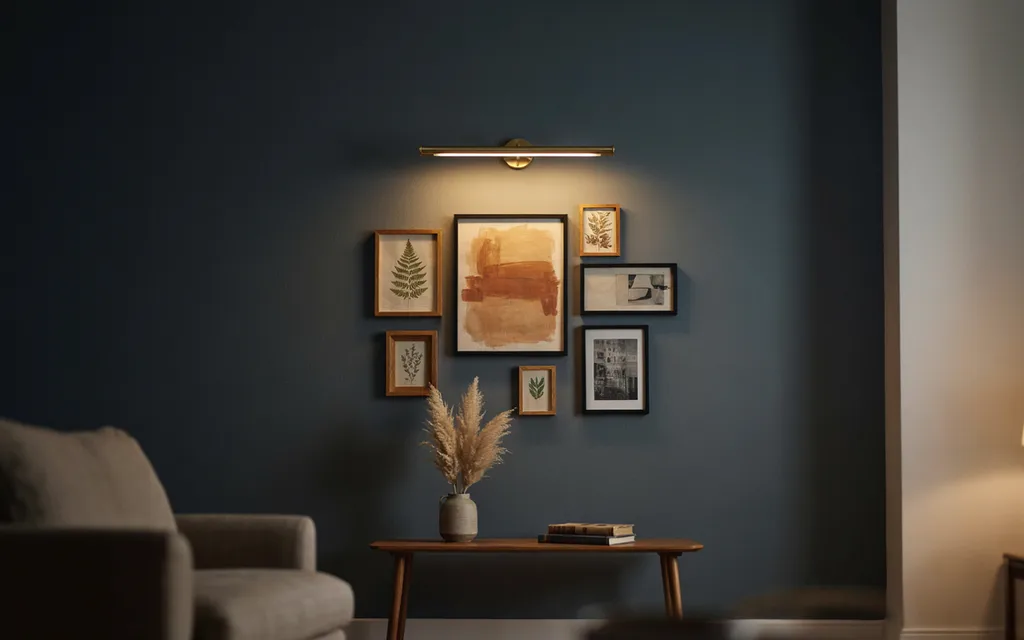
Creating a picture gallery wall can feel overwhelming, but it does not have to be. This Ultimate Guide breaks the process into fifteen simple, actionable steps, from choosing the right wall to spacing frames correctly and adding finishing lighting touches. Whether you are a first time decorator or simply looking to refresh your living room, these tips will help you plan, arrange, and hang a gallery wall with confidence. By the end, you will have everything needed to create a display that feels polished, personal, and completely your own.
1. Choosing the Right Wall for Your Gallery
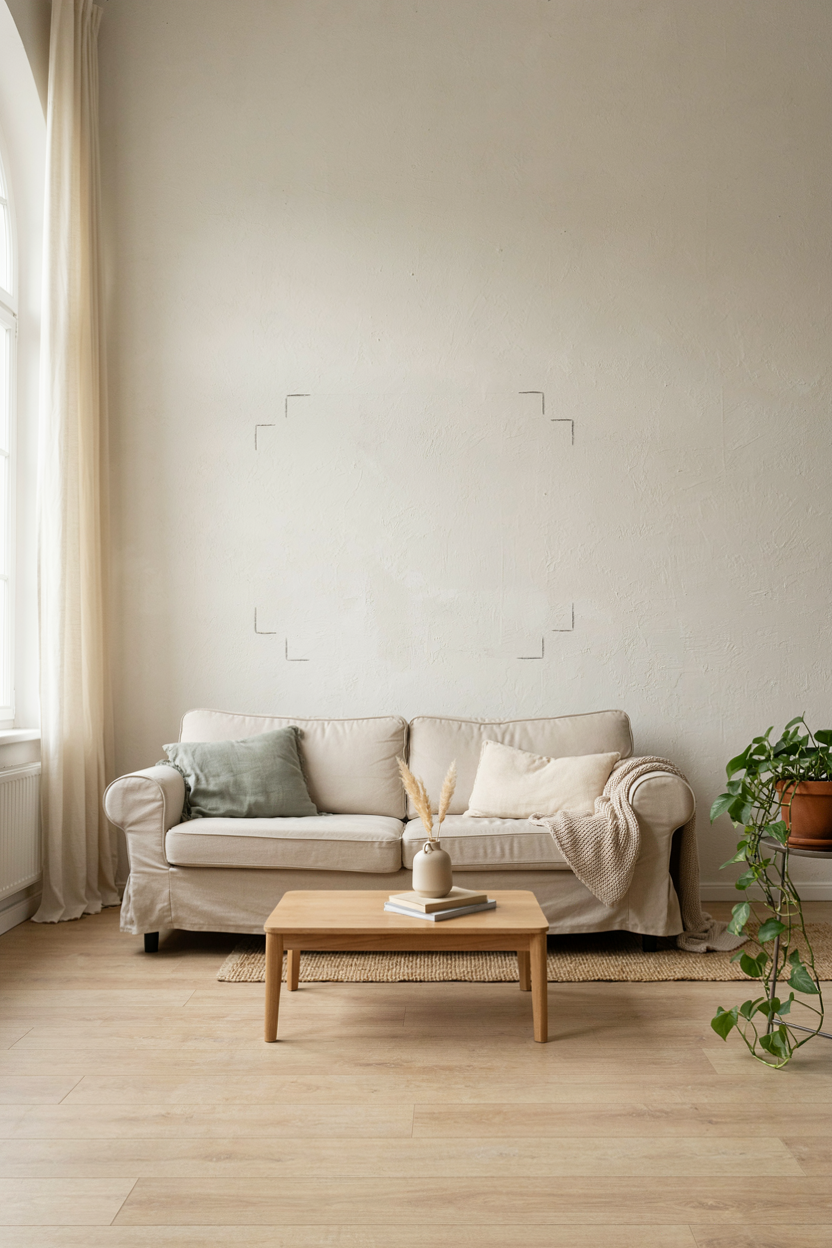
The Ultimate Guide to any successful gallery wall starts with choosing the right location before a single frame goes up. Look for a wall with enough uninterrupted space, good natural or ambient lighting, and a clear sightline from where people typically sit or walk. Walls above sofas, staircases, or hallways tend to work best because they naturally draw the eye and offer plenty of surface area.
Avoid walls with heavy texture, frequent sunlight glare, or obstructions like light switches and vents, since these can disrupt your layout. Step back and view the space from a distance to judge scale before committing. This first step in The Ultimate Guide sets the foundation for everything that follows, so take your time evaluating a few options before deciding.
2. Selecting a Cohesive Color Palette
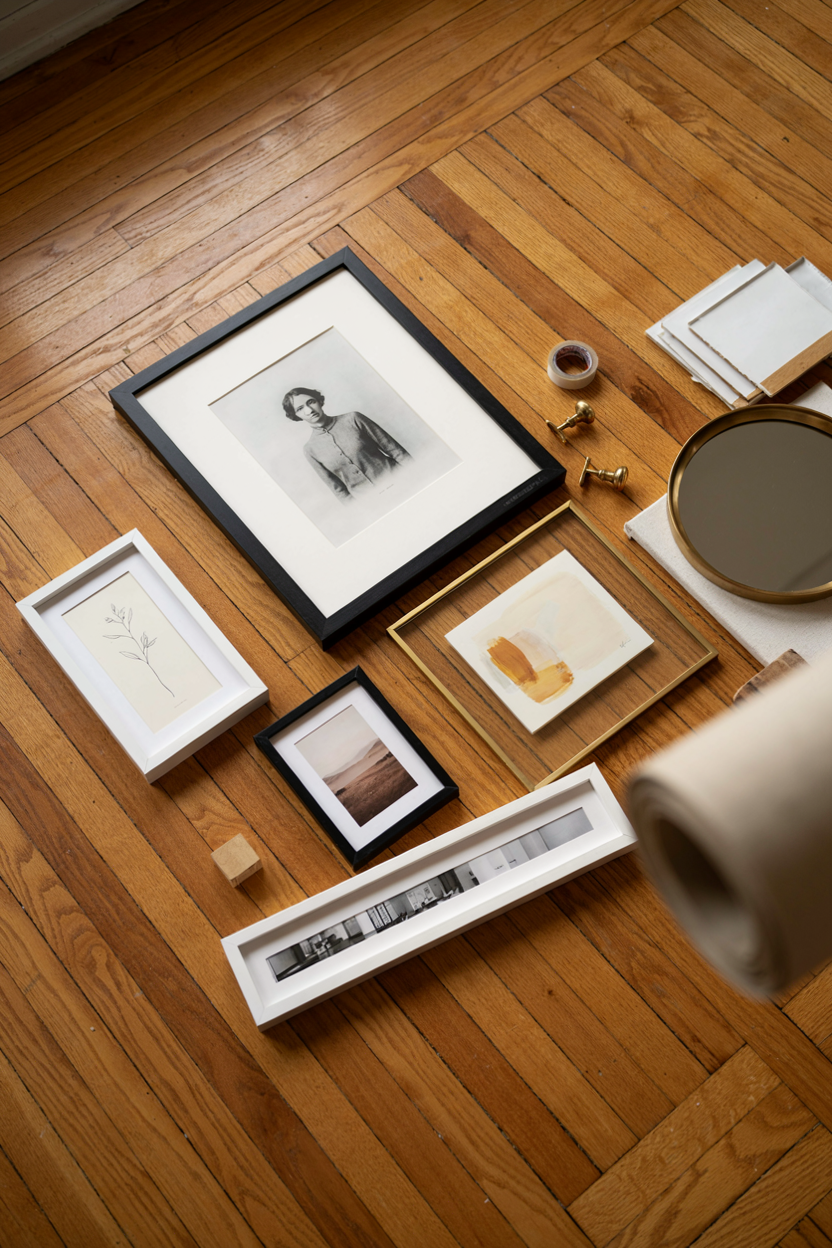
A cohesive color palette is one of the most important lessons in The Ultimate Guide to building a gallery wall that feels intentional rather than chaotic. Choosing two or three complementary tones for your frames and artwork keeps the eye moving smoothly across the display instead of jumping between clashing colors. This simple step makes even a mismatched collection of photos look thoughtfully curated.
Start by pulling colors already present in your room, such as your sofa, rug, or accent pillows, and echo them in your frame choices. Neutral palettes like black, white, and wood tones are especially forgiving and timeless. Following this principle from The Ultimate Guide ensures your finished wall complements the room rather than competing with it.
3. Mixing Frame Sizes and Styles
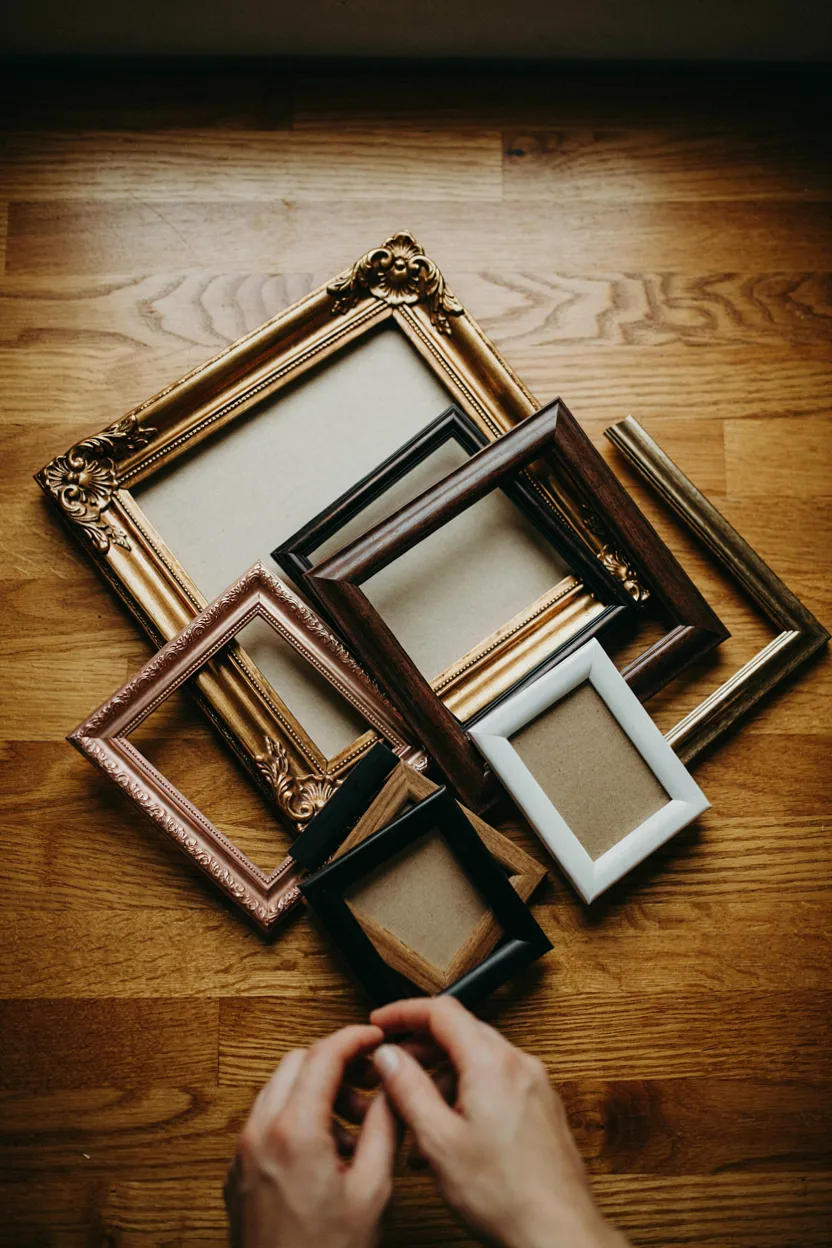
According to The Ultimate Guide, mixing frame sizes and styles is essential for creating visual interest rather than a flat, repetitive pattern. Combining small, medium, and large frames adds rhythm and depth, guiding the viewer’s eye naturally around the composition. A wall of identical frames can look neat but often lacks the personality that a varied mix effortlessly provides.
Aim for roughly one large anchor piece, a few medium frames, and several smaller accents to balance the layout. Varying orientation between portrait and landscape also adds dynamic movement across the wall. This step from The Ultimate Guide is where your gallery wall truly starts to develop its own unique character and charm.
4. Planning Your Layout on Paper First
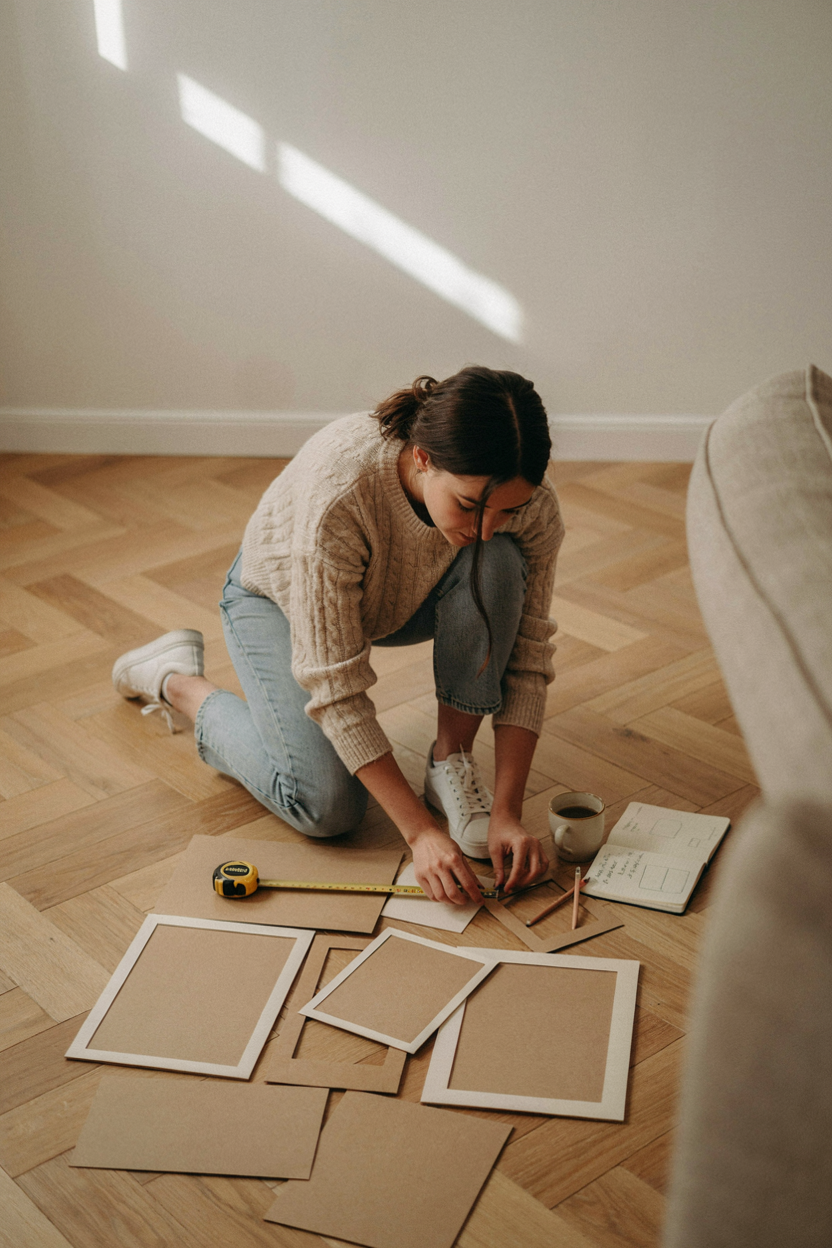
One of the most practical tips in The Ultimate Guide is to plan your entire layout on paper before touching the wall. Trace each frame onto craft paper, cut out the shapes, and arrange them on the floor exactly as you intend to hang them. This step eliminates the guesswork and prevents unnecessary nail holes from trial-and-error placement.
Once you’re happy with the paper arrangement, photograph it from above for reference while hanging. Adjust spacing and positioning as many times as needed since paper costs nothing to move around. This foundational stage of The Ultimate Guide saves significant time and frustration later in the installation process.
5. Using Painter’s Tape to Map It Out
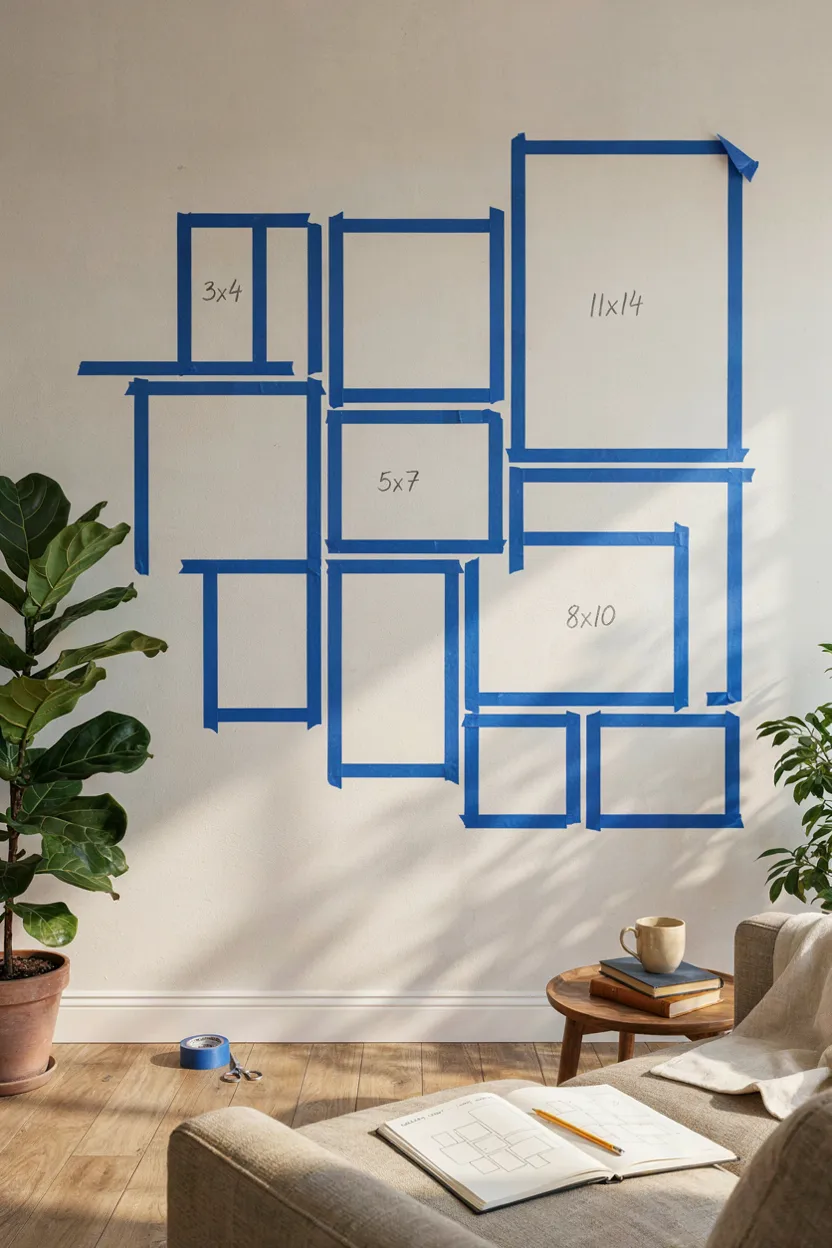
After paper planning, The Ultimate Guide recommends transferring your layout directly onto the wall using painter’s tape. This creates a full-scale, removable preview that lets you see exactly how the arrangement will look in the actual space, accounting for wall size, furniture placement, and lighting conditions that paper alone can’t fully capture.
Use a level and measuring tape to ensure each taped outline is straight and evenly spaced before marking nail points. Step back frequently to assess the overall balance from a distance. This tactile step in The Ultimate Guide bridges the gap between planning and execution, giving you confidence before making any permanent changes to your wall.
6. Deciding Between Symmetry and Asymmetry
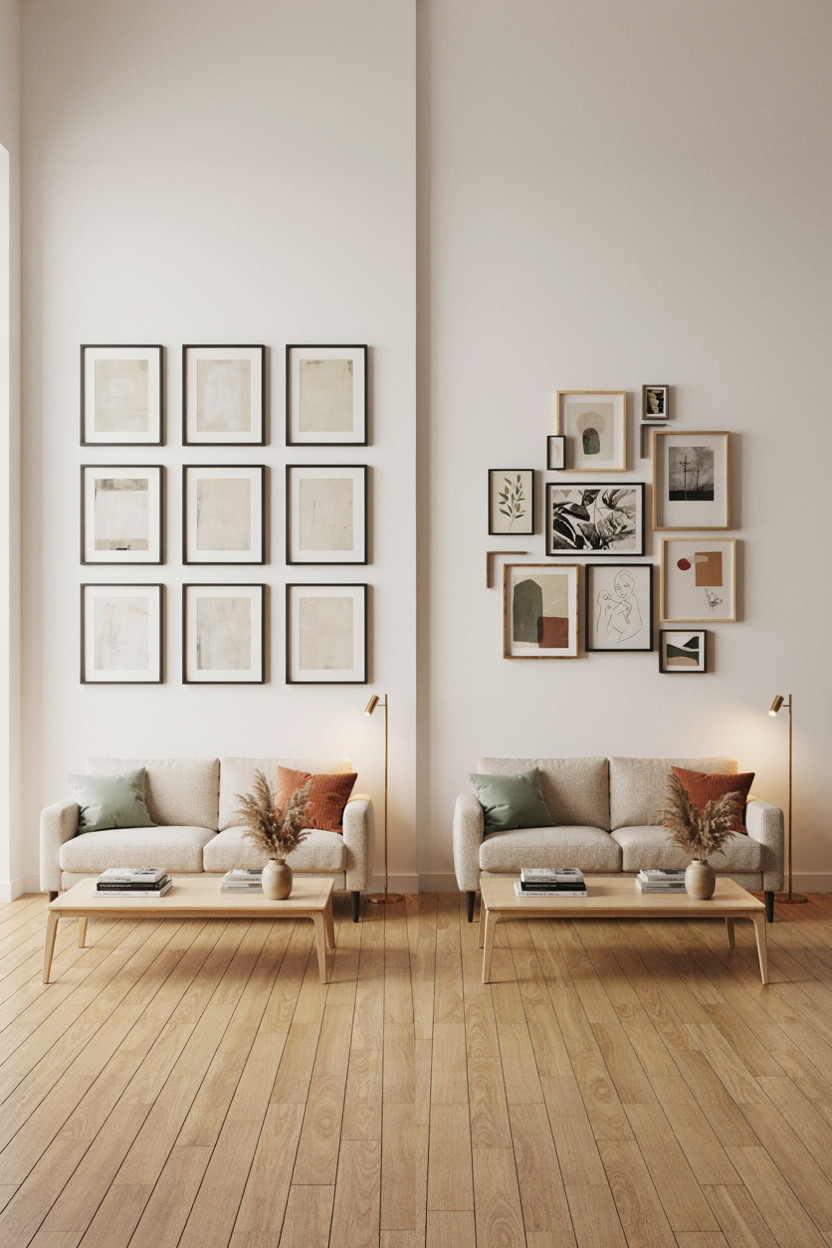
The Ultimate Guide highlights an important early decision: whether your gallery wall will follow a symmetrical or asymmetrical layout. Symmetrical grids offer a clean, structured look that suits modern and minimalist spaces, while asymmetrical clusters feel organic and collected, ideal for eclectic or bohemian interiors. Neither approach is inherently better, but each creates a distinctly different mood.
Consider your room’s existing furniture and decor style when making this choice, since symmetry pairs naturally with streamlined spaces while asymmetry complements layered, textured rooms. Whichever direction you choose, consistency is key. This decision point in The Ultimate Guide shapes every subsequent step of your gallery wall’s design and installation.
7. Picking the Perfect Focal Point
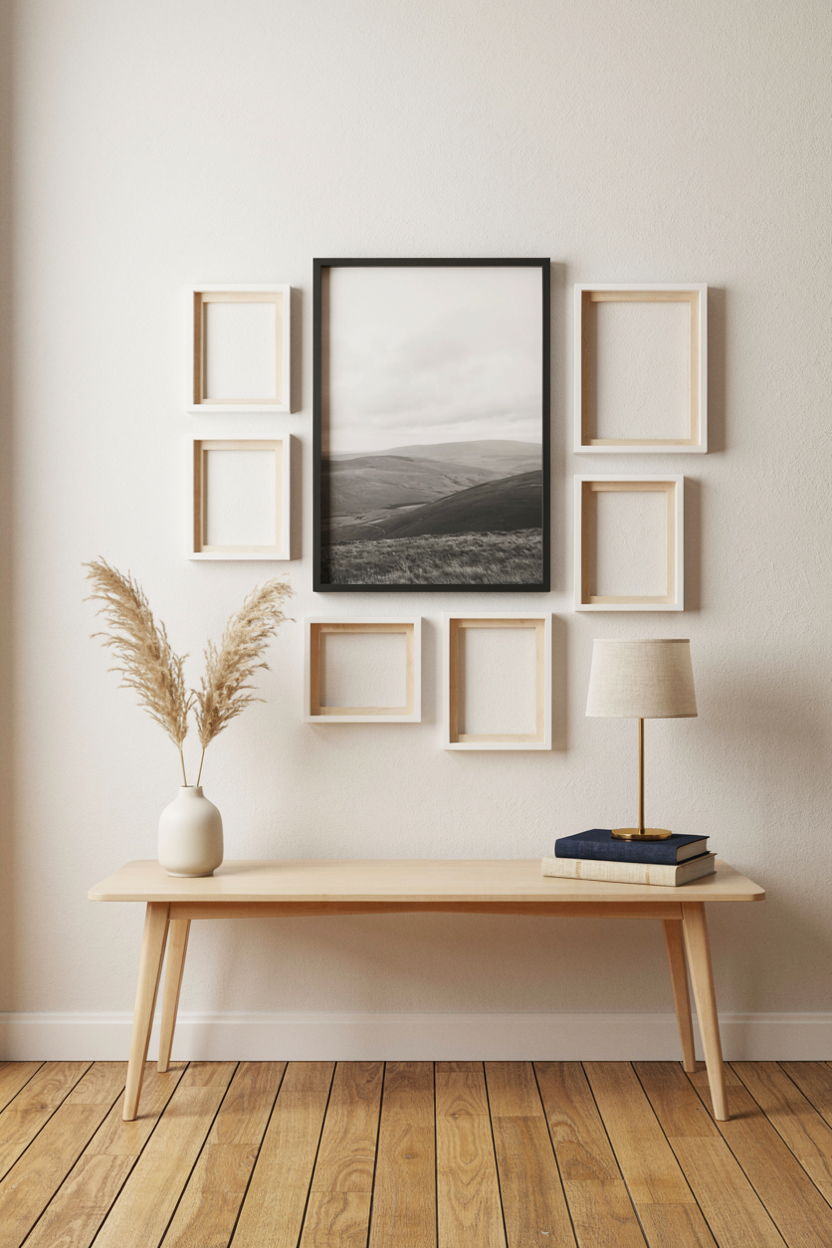
Every great composition needs an anchor, and The Ultimate Guide stresses the importance of selecting a clear focal point before arranging supporting pieces around it. This could be your largest frame, a piece with sentimental value, or the most visually striking artwork in your collection. Building outward from this anchor keeps the entire layout balanced and intentional.
Position your focal point slightly off-center or at true center depending on your chosen layout style, then arrange smaller frames around it in decreasing size. This technique, emphasized throughout The Ultimate Guide, prevents your gallery wall from feeling scattered and ensures viewers immediately know where to look first.
8. Spacing Frames Correctly
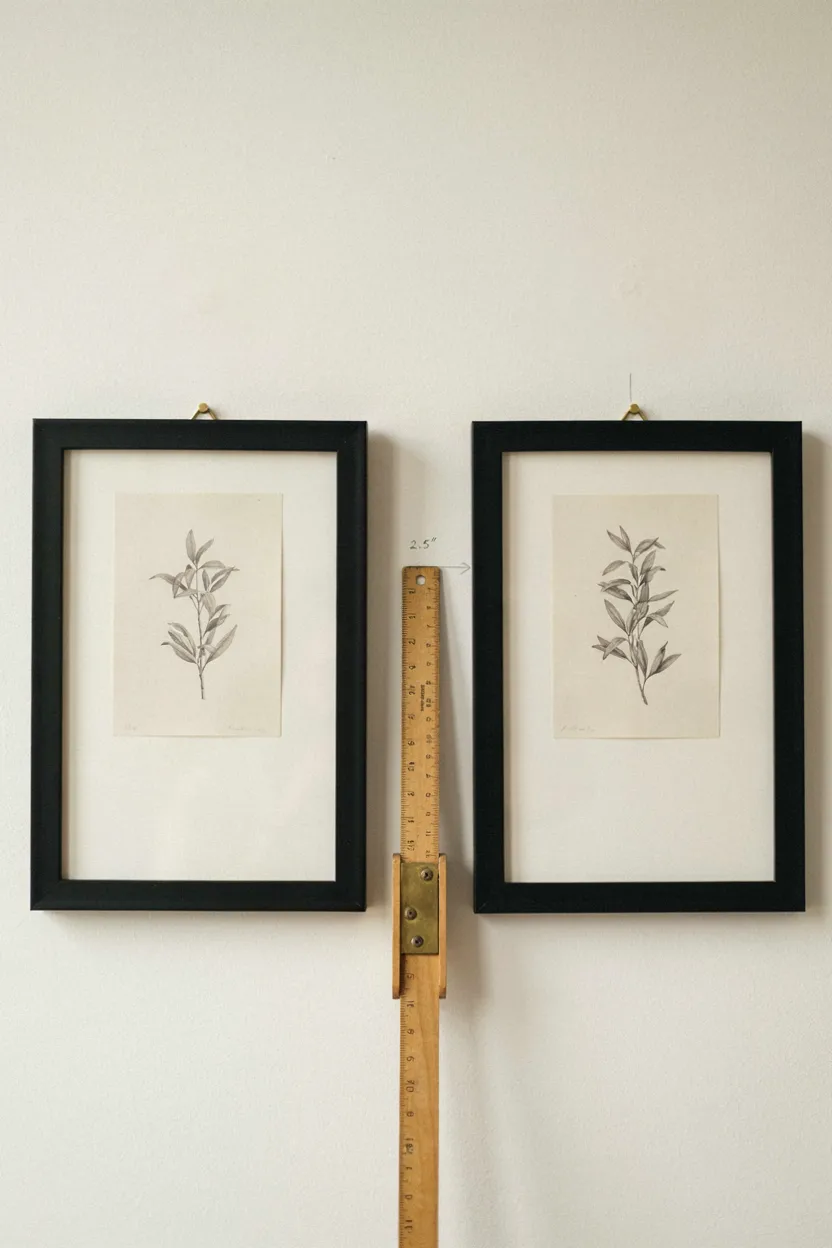
Correct spacing is a small detail with a big impact, and The Ultimate Guide devotes special attention to getting it right. Frames placed too close together can feel cramped and cluttered, while excessive spacing makes the collection look disconnected and unintentional. Most designers recommend leaving two to three inches between frames for a balanced, cohesive appearance.
Use a ruler or spacing template to maintain consistency across the entire wall, especially in grid or symmetrical layouts. Slightly looser spacing works for asymmetrical arrangements but should still feel deliberate rather than random. Mastering this detail from The Ultimate Guide elevates your gallery wall from amateur to professionally styled.
9. Choosing the Right Tools and Hardware
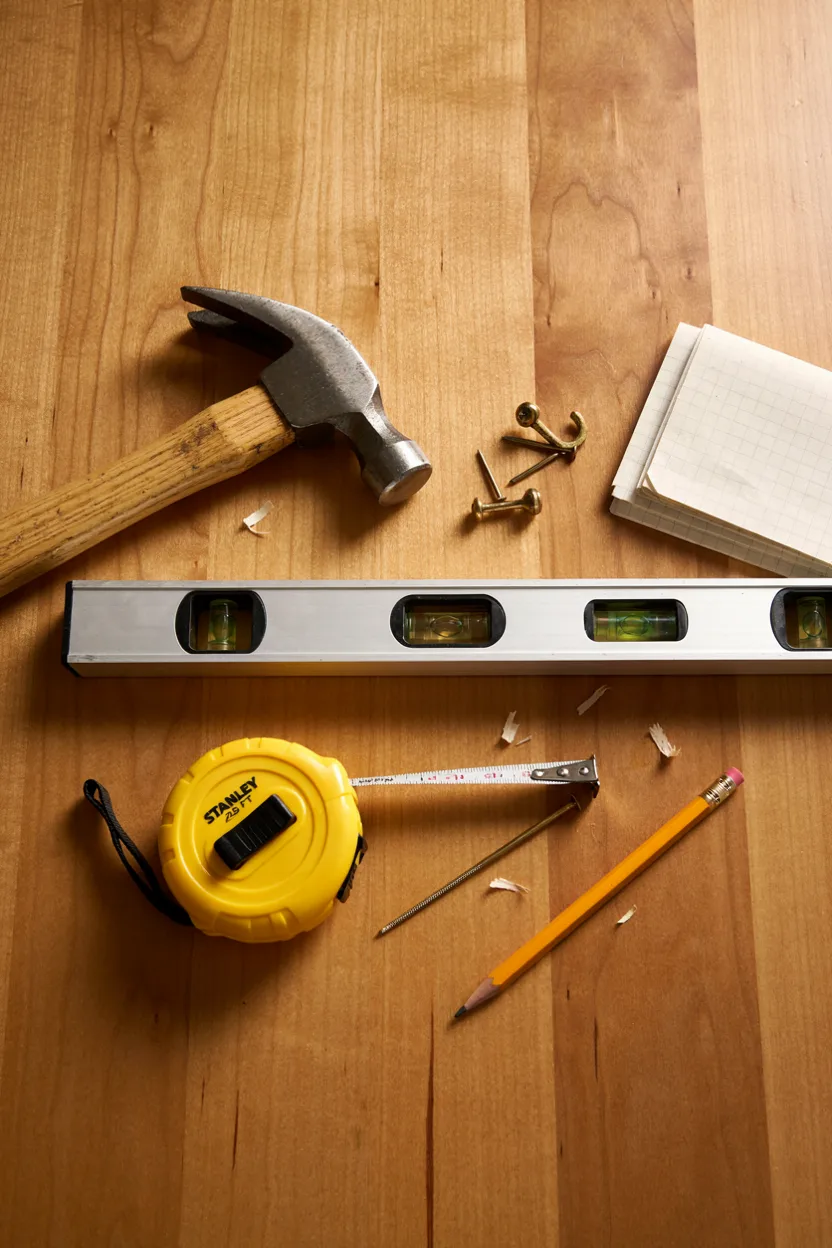
No project comes together without the right equipment, and The Ultimate Guide walks through the essential tools needed for a smooth installation. A reliable level, measuring tape, picture hooks suited to your wall type, and a sturdy hammer form the foundation of any successful gallery wall project, regardless of how many frames you’re hanging.
For heavier frames, use appropriate wall anchors rated for the frame’s weight, especially on drywall. A laser level can be a worthwhile investment for larger, more complex layouts requiring precision across multiple rows. Having the correct hardware, as outlined in The Ultimate Guide, prevents frustrating mistakes and ensures your frames stay securely in place for years.
10. Balancing Photos with Art and Prints
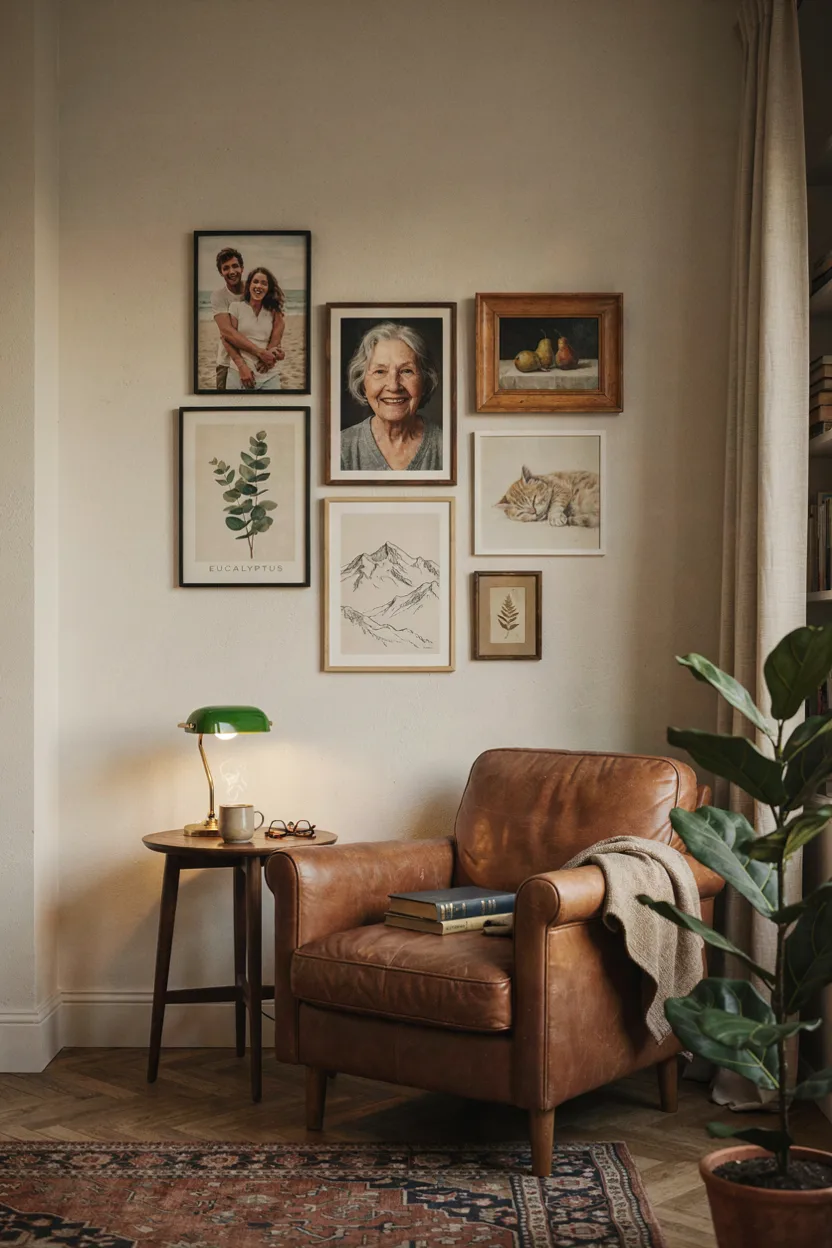
The Ultimate Guide encourages blending personal photography with decorative art and prints rather than relying on one type of content alone. This combination adds visual variety while keeping the display personal and meaningful. Too many photos can feel like a family archive, while too much decorative art can feel impersonal, so balance between the two is essential.
A general guideline suggested throughout The Ultimate Guide is aiming for roughly sixty percent photography and forty percent art, or vice versa, depending on your preference. Intersperse the two types evenly rather than grouping them separately for the most cohesive, well-rounded gallery wall composition.
11. Incorporating Different Frame Materials
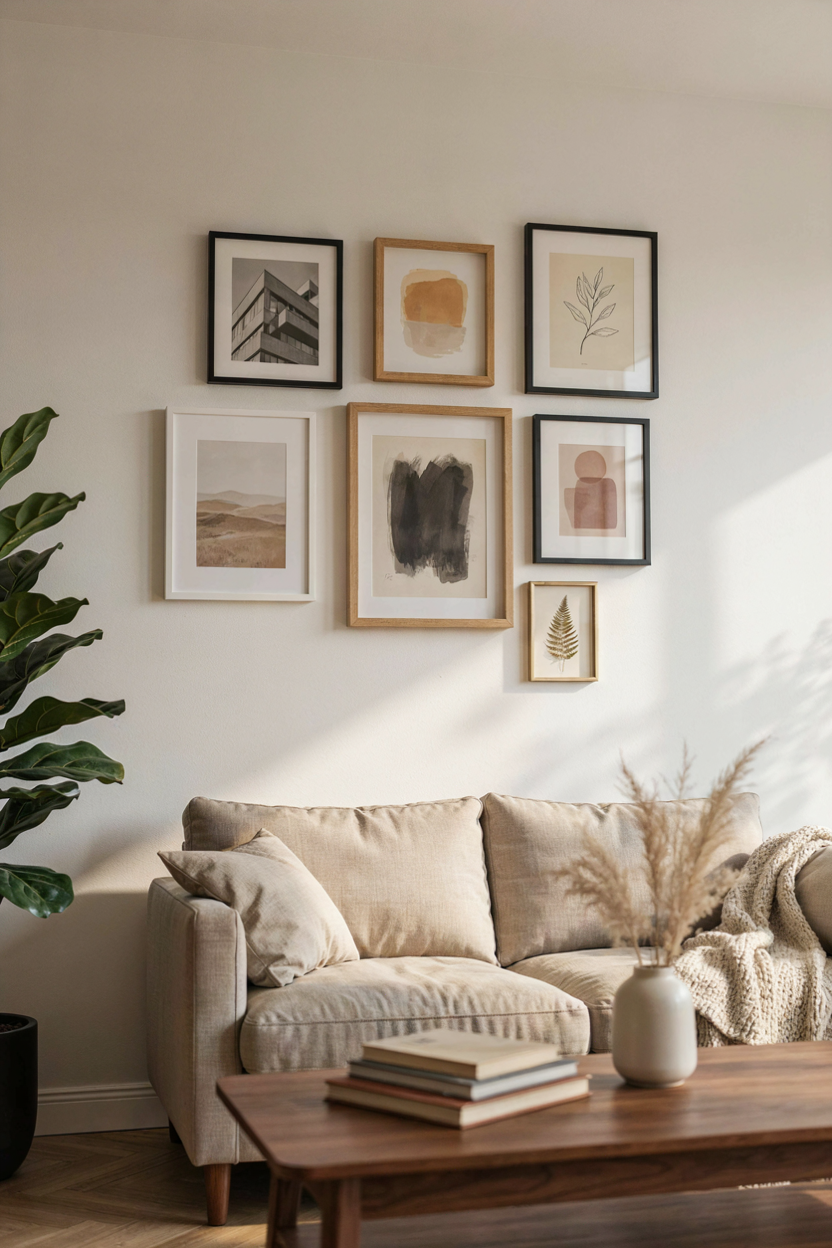
Material variety is another technique highlighted in The Ultimate Guide for adding depth and richness to your gallery wall. Combining metal, wood, and painted frames introduces subtle textural contrast that keeps the display visually interesting, even when the color palette remains consistent throughout. This approach prevents the wall from feeling flat or one-dimensional.
Limit yourself to two or three materials maximum to avoid an overly busy, disjointed look. Repeat each material at least twice across the wall so the variety feels intentional rather than random. This layered technique from The Ultimate Guide adds a designer-level touch that elevates the overall sophistication of your finished display.
12. Hanging Frames at the Right Height
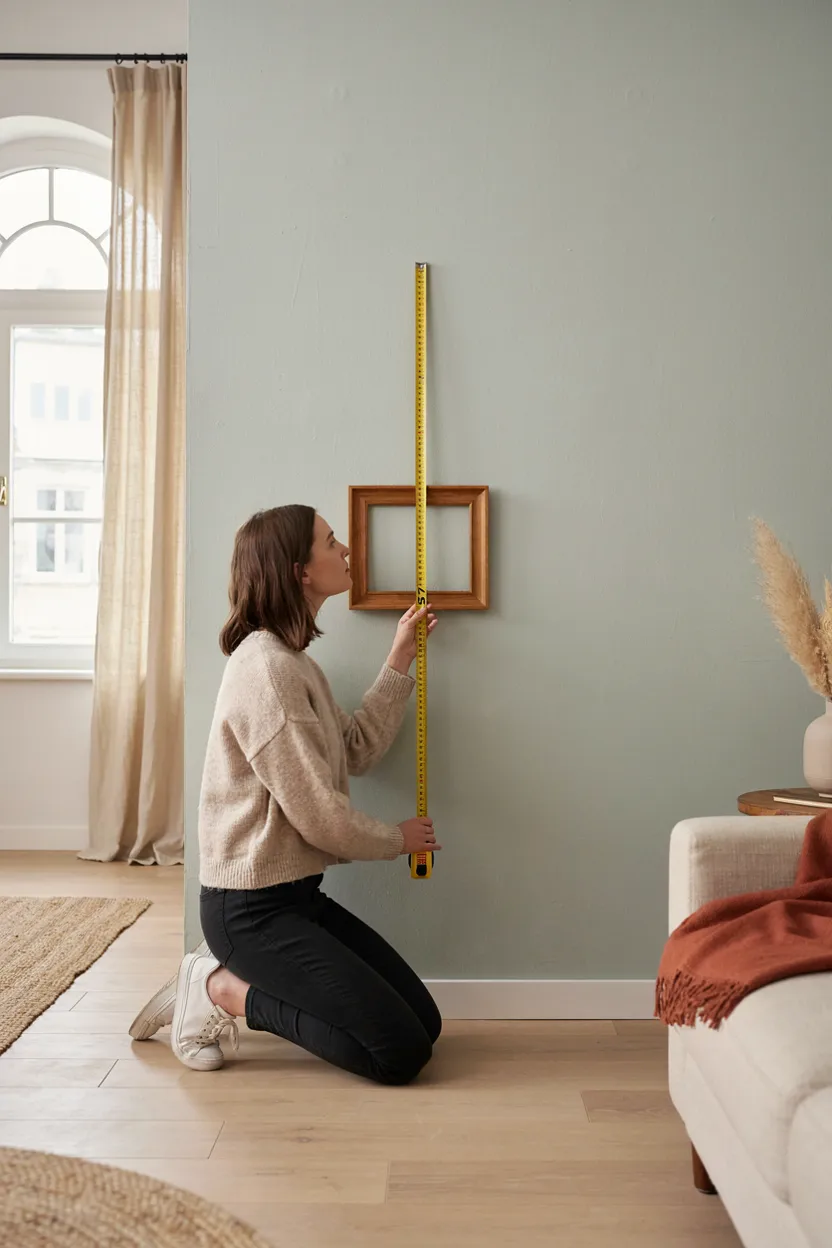
Proper height placement is a technical but crucial step in The Ultimate Guide, since even a beautifully planned layout can feel off if hung too high or too low. The general rule of thumb is centering artwork fifty-seven inches from the floor, which represents average eye level for most adults viewing the piece while standing.
For gallery walls above furniture, leave roughly six to eight inches between the top of the furniture and the bottom of the frames. Adjust slightly based on ceiling height and room proportions. Following this guideline from The Ultimate Guide ensures your gallery wall feels naturally integrated into the room rather than floating awkwardly.
13. Adding Personal Touches and Keepsakes
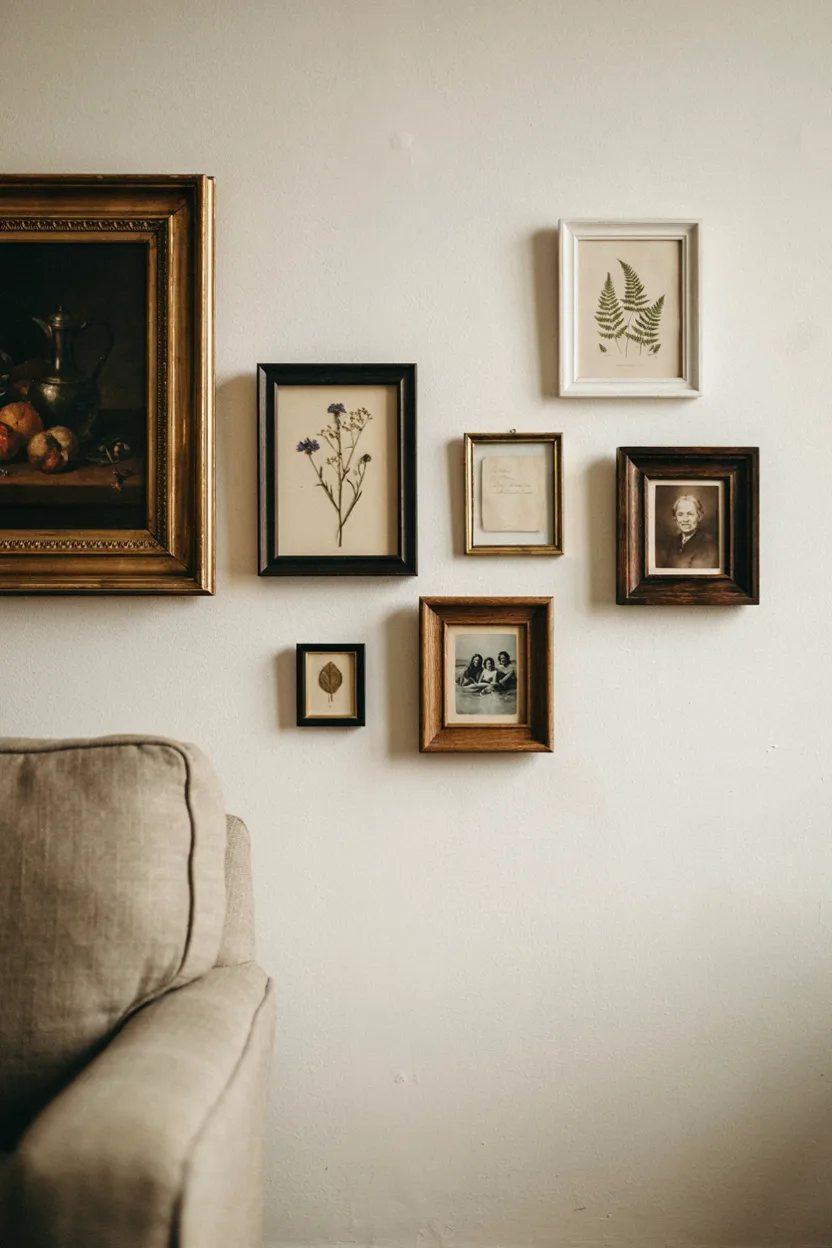
The Ultimate Guide reminds readers that a gallery wall doesn’t need to consist only of photographs and prints. Incorporating small keepsakes like ticket stubs, pressed flowers, handwritten notes, or shadow boxes adds a deeply personal layer that mass-produced art alone can’t replicate, transforming the wall into a genuine reflection of your life and memories.
Frame these mementos just like any other piece, maintaining consistency with your chosen color palette and materials so they blend seamlessly into the overall design. Limit sentimental items to a few standout pieces rather than overcrowding the wall. This heartfelt addition from The Ultimate Guide makes your gallery wall truly one of a kind.
14. Lighting Your Gallery Wall Effectively
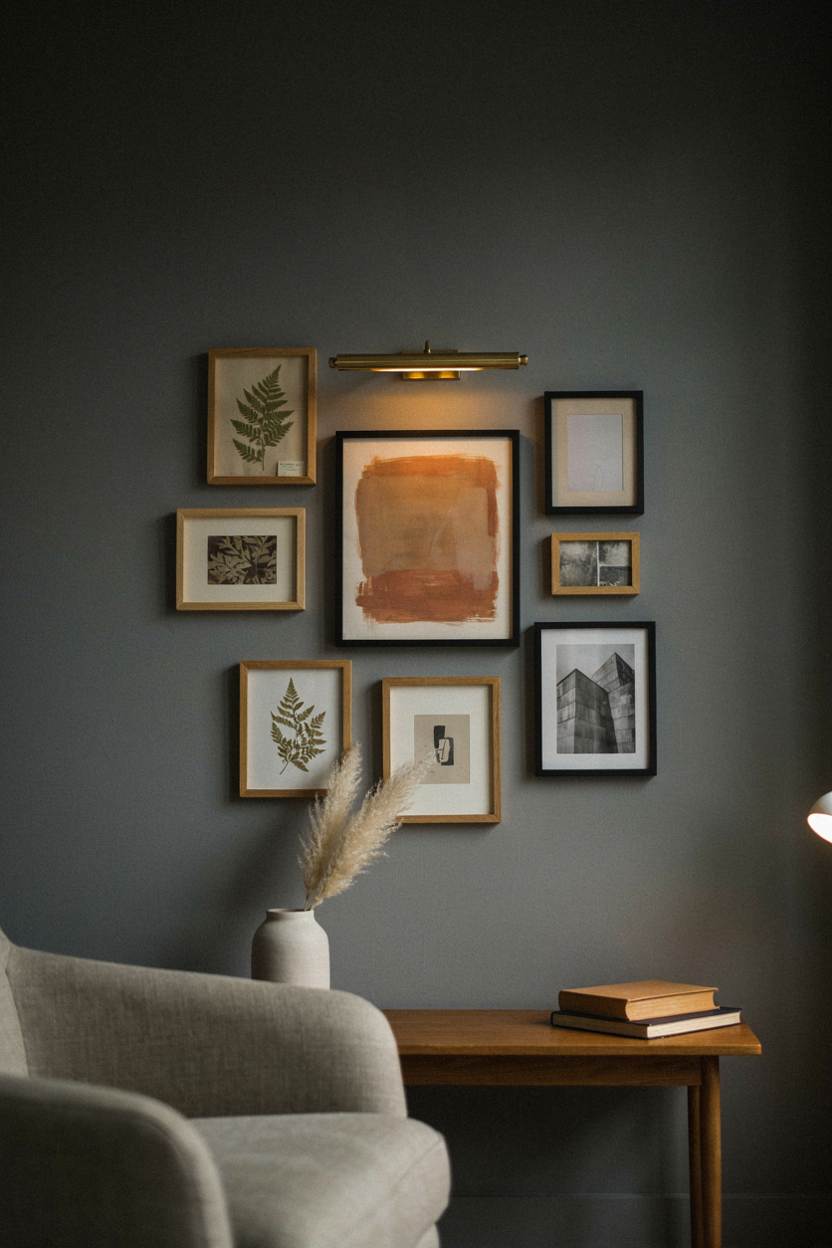
Lighting is often overlooked, yet The Ultimate Guide considers it essential for showcasing your gallery wall at its very best. Natural light highlights your display beautifully during the day, but supplemental lighting ensures it remains a focal point in the evening as well. Picture lights, wall sconces, or adjustable spotlights can all enhance the display’s presence.
Position lighting to minimize glare on glass-covered frames while evenly illuminating the entire arrangement rather than just the center. Warm-toned bulbs tend to flatter most artwork and photography better than cool, harsh lighting. This finishing touch recommended in The Ultimate Guide ensures your gallery wall looks polished at any time of day.
15. Maintaining and Updating Your Gallery Over Time
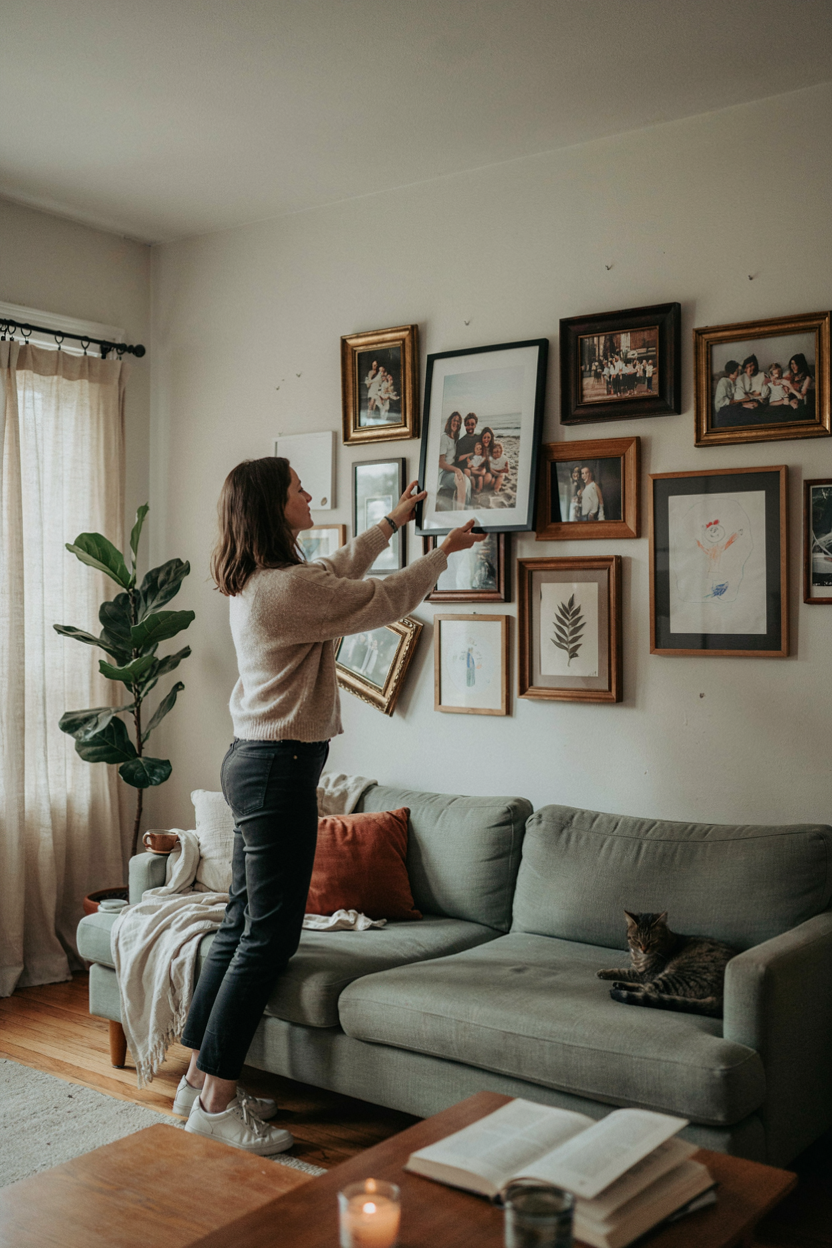
The final lesson from The Ultimate Guide is that a gallery wall is never truly finished — it’s meant to evolve alongside your life. Periodically updating photos, rotating seasonal art, or adding new frames keeps the display feeling fresh and relevant rather than static and outdated. This ongoing process is part of what makes gallery walls so rewarding.
Set a habit of reviewing your wall once or twice a year, swapping in recent memories and retiring older pieces to storage. Keep a few empty frames on hand for spontaneous additions. This final principle from The Ultimate Guide ensures your gallery wall remains a living, meaningful part of your home for years to come.
Conclusion
Following The Ultimate Guide takes the guesswork out of building a picture gallery wall, from the very first planning stage to the final lighting touches. With thoughtful layout, correct spacing, the right hardware, and a mix of personal and decorative pieces, any blank wall can become a stunning focal point in your living room. Use these fifteen steps as your roadmap, then let your own style and memories bring the finished gallery wall to life.

Join The Discussion